Showing posts with label ice cream. Show all posts

Saturday, August 20, 2011

Pumpkin and Hazelnut Ice Cream

IMG_6895


About a month ago I went on a holiday to Bali with four of the best friends a girl could have...during which we discovered a little hole-in-the-wall gelateria in Ubud that, amongst an array of other flavours, made an incredible pumpkin and hazelnut gelato. It rocked my world. As a result, the Red Avenger and I were determined to recreate the experience and come up with our own version of the sweet pumpkin and hazelnut ice cream.

IMG_6850

I should probably first introduce the Red Avenger - a baker and ice cream making extraordinaire who, when I mentioned my desire to recreate my Bali gelato experience, immediately noted that we'd have to bake the pumpkin to enhance it's sweetness and produce some kind of hazelnut milk using the same technique used for making coconut milk.  Compare this to most reactions to my pumpkin ice cream-making scheme, which varied from "pumpkin in an ice cream - yuck!" to a wrinkling of the nose accompanied by a derogatory comment about American pumpkin pie.  You can see why I was very happy indeed to have a partner in crime who was as experienced in ice cream making (and as enthusiastic about the project) as the Red Avenger.

It also so happened that I was (relatively) newly in possession of a shiny Cuisinart benchtop ice cream maker - this is the kind of machine that has it's own refridgeration unit in-built so (unlike the ever loyal Mr Snowy who has previously featured in my blog posts) you don't need to pop your base in the freezer.  Basically, you can be slightly less organised and still churn out some pretty delicious ice cream in a few hours.  The Cooking Fairy Godmother (my mother) gave me this wonderful beastie when I was suffering through a break-up... you've got to love a woman whose approach is "forget him, make ice cream"!  And she was so right.

IMG_6868

Now, just because this baby has it's own freezing system doesn't mean you don't have to be a little organised about making ice cream.  The key to making a good ice cream is to ensure all the liquids are as cold as you can get them before they go into the machine to be churned.  This requires at least three hours in the fridge beforehand.  Personally, I think this makes ice cream perfect for a dinner party - you can prepare the base the night or morning before your guests arrive and pop it in the fridge.  Then churn in the afternoon and you're ready to go with a dessert that needs no last-minute phaffing and invariably impresses anyone you serve it to.  

IMG_6902


Pumpkin and Hazelnut Ice Cream

Ingredients

-  900 grams pumpkin (I used Queensland Blue, but Butternut would also be good)
-  1/3 cup dark brown sugar
-  3 tablespoons vegetable oil (I used macadamia nut oil)
-  1/4 cup roasted hazelnuts
-  200 grams raw hazelnuts
-  600 ml whipping cream
-  pinch of sea salt
-  1/2 teaspoon ground nutmeg
-  1/2 teaspoon lemon zest
-  1/2 teaspoon ground cinnamon

If you're using an ice cream maker with a base you need to freeze, don't forget to pop it in the freezer the night before you want to churn the ice cream.  The longer it's in the freezer, the better the result!

Preheat your oven to 210 degrees Celcius.  Chop your pumpkin into large chunks, coat in vegetable oil and roast until soft but not too crisp on the outside (mine blackened a little too much, not that it mattered in the end, but you should keep an eye on them).

IMG_6842


IMG_6845


IMG_6847


Leave it to a cool a little but, while still warm, puree the pumpkin in a food processor until smooth.  Place into a large bowl (you'll be mixing the cream into the puree in this bowl later) and add the dark brown sugar, stirring until dissolved.  Cover in cling wrap and pop in the fridge.

Next, clean out your food processor because we are about to use it again.  Pulverise your raw hazelnuts until they become a hazelnut meal, rather like the almond meal you'd use in friands.  Don't cheat and buy pre-ground hazelnut meal - you need this to be done fresh so you get the best flavour transferred into your cream.  I recommend the nut shop at the Fyshwick Markets for nice fresh hazelnuts, both roasted and raw.

IMG_6849


This is also a good time to chop up you roasted hazelnuts, which should be reduced to the size of choc-chips in the food processor (not pulverised like the raw hazelnuts).  Set these aside for later use during the churning process.

Now, in a medium-sized saucepan on a medium-low heat, bring your cream very close to a boil.  When it's starting to bubble slightly at the sides, add in your freshly ground hazelnut meal.  Turn off the heat but stir vigourously while the cream is warm.  Transfer the cream-and-hazelnut mix to a heat-proof bowl and leave it to cool on the bench a little, then cover the bowl with cling wrap and pop it in the fridge to chill for at least three hours (or overnight if you are being particularly organised).

IMG_6855


IMG_6858


When the cream is chilled to the touch, remove it from the fridge and strain through a mesh sieve to remove the hazelnut meal.  You should use the back of a large spoon to squeeze out as much of the cream from the meal as you can.  From the 600ml of cream I originally used, I only managed to squeeze around 400ml of cream from the meal, which I think must absorb the liquid.  The cream becomes a fragrant, nutty liquid which gives the hazelnut flavour to the pumpkin puree, smoothing out its sweetness and adding an undertone of flavour to the ice cream.

IMG_6862


IMG_6864


Next, in that big bowl with your chilled pumpkin, mix in your cream until combined.  Add the zest, nutmeg, cinnamon, zest and sea salt.  Don't forget to taste it - pumpkin can vary in sweetness and flavour so you should adjust the amount of sugar and spices to suit your own tastes.  Just remember (as advised by the Red Avenger) when the ice cream is chilled the human tongue doesn't taste the sugar as well, so you may need to add more sugar to the base than you would ordinarily like, so that it tastes sweet enough when frozen.

IMG_6866


Now, fire up your ice cream maker, add this liquid and churn, churn, churn!  When it's starting to look thicker, but not quite fully frozen, add in the chopped roasted hazelnuts.  When the machine says it's done, scoop it into a plastic container and freeze for a final 30 minutes until fully frozen.

IMG_6873


IMG_6874


IMG_6886


I highly recommend removing the ice cream from the freezer 3-5 minutes before you need to serve up in order to give it time to soften just enough to be scoopable.

I know that for Australians who always think of pumpkin as savoury, that a sweet pumpkin ice cream seems a little odd, but this turned out beautifully and I highly recommend being a little adventurous and giving this recipe a try.

IMG_6898


IMG_6904

Saturday, May 14, 2011

Chocolate Self Saucing Pudding

IMG_6198


It seems that an awful lot of my friends and family have May birthdays, leading to far more dinners, birthdays and rich food than I had really counted on over the last two weeks.  Today was my Aunt's birthday and I was in charge of dessert at the family lunch at my Mum's place.

I decided I wanted to cook something classic, preferably gooey and full of chocolate - something indulgent my Aunt would love.  When it comes to 'classic', you really can't look much further than the Women's Weekly cookbooks, which very helpfully have a large variety of self-saucing pudding recipes to choose from, which are all (by and large) "never fail".  I have adapted it slightly to include cinnamon and kirsch - these add some layers to the flavours and give the dish a little bit of extra oomph.

At this point I should clarify for our North American friends.  Pudding is a warm cake-based dessert.  It is not the wobbly child of an unnatural union between mousse and jelly (translation - jello).  Pudding should be served steaming hot straight from the oven, and preferably eaten with cream and ice-cream.

Now, back to the flow of my narrative.  The beauty of this recipe is the chemistry of it.  You make this amazingly simple thick pudding base, spread it over the bottom of a casserole dish, sprinkle with cocoa and sugar, and then pour boiling water over the top.  Then you pop it in the oven and 40 minutes later a miraculous transformation has occurred.  On top is a light chocolate sponge, moist with cocoa and sour cream.  Below is a bubbling, oozing chocolate-and-liqueur sauce.  You scoop a spoonful out of the dish and onto your plate, ladle over some cream, plop a scoop of vanilla ice cream to one side, and devour.

Just a word of warning - eating this dish may result in the need for an afternoon nap followed by a serious exercise session.  But it's worth every minute on the treadmill.

IMG_6212


Chocolate Self-Saucing Pudding

Ingredients
-  1 cup self-raising flour
-  1/2 cup cocoa powder (I recommend Dutch process cocoa)
-  1/2 teaspoon bicarbonate soda
-  1 1/4 cups brown sugar
-  1 tablespoon ground cinnamon
-  80 grams melted butter
-  1/2 cup sour cream
-  1 egg, beaten
-  1 tablespoon kirsch
-  1 teaspoon vanilla extract
-  1 1/2 cups boiling water

First things first.  Grab yourself a large, high sided casserole dish (1.5 litre or 6 cup capacity) and grease with some butter or margarine.  Preheat the oven to 180 degrees Celcius.

IMG_6126


Now, in a large bowl sift the flour, bicarb soda, half the cocoa and 1/2 cup the sugar and the ground cinnamon.  In a separate bowl, beat the egg and combine with the sour cream.  Finally add the vanilla extract and kirsch.  When combined, add in the melted butter, whisking vigorously as you pour it in.

IMG_6133


Pour the wet mix into the dry ingredients and stir until combined.  This will be a very thick batter, so don't panic.  Spread this over the bottom of the casserole dish.  Next, sift the remaining cocoa and brown sugar over the top of the casserole dish.  If you want to, you could prepare the dish until this point up to 2 hours before you move to the next steps, which can be handy if you're having friends around for dinner and like to have things ready to go when the main course is finished.

IMG_6142


Put the boiling water in a jug and then pour gently over the casserole until it resembles a strange, bubbling swamp-soup.  It's okay, it's meant to look that liquid.  Put the dish into the preheated oven and leave it alone for 40 minutes.

IMG_6147

IMG_6196


When the top looks like cooked sponge, but the sauce is still bubbling up around the edges and through the cracks in the crust, it's time to take it out of the oven.  Allow the pudding to sit for five minutes before you spoon into bowls, add cream and ice cream.  Eat as fast as possible without burning the inside of your mouth.  I highly recommend serving this with a small bowl of fresh or defrosted frozen raspberries - it gives a lovely sour edge to the rich, moist chocolate flavours.

IMG_6206


IMG_6214

Sunday, January 16, 2011

Guinness and Chocolate Ice Cream


After the success of the cinnamon and plum swirl ice cream, I decided it was time to get more adventurous with my ice cream maker.  Having spent a lot of time on David Lebovitz's wonderful food blog (www.davidlebovitz.com) I discovered references to his Guinness-Milk Chocolate Ice Cream from his cookbook "The Perfect Scoop" (Dear Santa, please bring me a copy some day).  This guy has a seriously kookie approach to ice cream flavours, but what genius!  Caramelised bacon ice cream, for example.  It sounds so wrong it's right.

Given the recent interest by Mr J in the stouts and porters from our local micro-brewed beer store - Plonk - I figured a Guinness and chocolate ice cream would go down very well with the significant other.  And, as fate would have it, an appropriate occasion came along, as I was having a gaggle of friends around for dinner, so I whipped Snowy's (the ice cream maker) base in the freezer and began my plotting.

Unfortunately for the original recipe, the day I went to the shops to buy the ingredients I had just undergone a particularly painful visit to the dentist and so was not in the right frame of mind to be trawling the supermarket (the lower portion of my face was completely numb, and I was trying not to drool in public).  As a result, I missed half the ingredients and I needed to adapt the recipe somewhat to take account of what I had in the (newly organised) pantry.  As a result, the ice cream went from milk chocolate to a mix of milk-and-dark.  I had some 70 per cent Lindt and interspersed it with the last of my easter chocolate eggs from last year, which had miraculously survived untouched in my liquor cabinet (hurrah)!  I also substituted normal sugar for brown sugar, to enhance the caramel undertones to the dish.  And, as I made the custard with the milk and cream over the heat - not including the cream in the end with the cooling chocolate mix - I ended up adding another 1/2 cup of cream.   All of this is included in the recipe below.

The result was a much richer, darker more bitter flavour which I think perfectly suits the Guinness, and I served it with a shot of Young's Double Chocolate Stout (yes, it is an actual flavour) from Plonk.  It's brewed in the UK and, according to Mr J, tastes like a "milkshake in a beer bottle".  It is rather tasty and has really brought me over to stout.  Yum!  And it comes in a pretty bottle too... alas, I am still rather shallow in my beer selection.


Guinness & Chocolate Ice Cream

Ingredients
-  7 ounces mixed milk and dark chocolate (finely chopped)
-  1 cup full cream milk
-  1/2 cup brown sugar
-  4 egg yolks
-  1 1/2 cups thickened cream
-  3/4 cup Guinness
-  pinch of salt
-  1 teaspoon vanilla extract

I started by chopping up the chocolate finely and popping it into a large mixing bowl.  You'll be pouring the hot custard (through a sieve) onto this later, and then melting it into the mix, so the bowl needs to be quite large.


In a smaller bowl, separate the egg yolks and beat them with a whisk.  Now, everything is prepared, you can start making the custard base.

On the stove, pop your milk, 1 cup of the thickened cream and the brown sugar in a saucepan and mix on a medium heat until it's warm (but not boiling).  Then, bit-by-bit, gradually empty it into the bowl with the egg yolks - whisk it continually as you gradually pour this in, then pop it back into the saucepan.  Set it back on the heat until it thickens and clings to the back of your spoon.


Now, pour the custard through the sieve into the chocolate bowl - this eliminates any chunky bits that may have developed in your custard (happens to the best of us).  Stir until the custard has melted all the chocolate and it looks like the waterfall in Willy Wonka and the Chocolate Factory.  Resist the temptation to begin drinking the liquid deliciousness.  Add in the last 1/2 cup of cream and stir until combined.


Cover the bowl with cling film and (when it's cooled off a little bit) pop it in the fridge overnight to cool.  In order to ensure you get the best possible results, you need to let this cool completely - like a giant chocolate milkshake.

The next morning, get the ice cream maker base out of the freezer, set up your churner and pour your (chilled) chocolate custard in.  This mix, I think due to the alcohol content, didn't churn into a particularly set mix.  It was more like half-melted soft serve, but persevere!  I popped it into a plastic container, stuck it in the fridge for about 6 hours and it - was - AMAZING!  Thank you, David Lebovitz.  This recipe will definitely be a repeat offender.  It's dark, rich and subtle with just the undertone of stout.  Beautiful.


I served a single scoop with blue berries and a side shot of matching stout.  It received rave reviews from both Mr J and the other dinner guests.

Enjoy!


Saturday, January 1, 2011

Cinnamon and Plum Swirl Ice Cream for Hot Days


After a mild, wet summer suddenly the hot weather has hit with a vengeance...and I am house bound!  Luckily our apartment is unusually cool because we don't have air conditioning, but even still it is damn hot at the moment.  So, as I listened to the cicadas I started to think about what to do with my day.  I've been thinking about all the paraphernalia in my kitchen which I have never, ever used, and had decided to start a series of projects that forced me to use those items.  The following items are just a few of the weird and wonderful gadgets and gizmos in my kitchen I need to learn how to use:


And that's when I noticed it.  Through the heat haze it appeared to be a mirage of icy deliciousness, evoking the frozen tundras of the Siberian plains... I was a little heat addled, so it seemed.  But there it was, my ice cream maker.  Now I should note in the interests of honesty that I have used an ice cream maker before.  When I lived with my cook-extraordinaire mother I used her ice cream maker (a very similar design) to make a vanilla, honey and lavender ice-cream for Christmas one year.  The current ice cream maker in my cupboard, however, has never been used.  My Grandma bought it for me shortly before my departure to Indonesia and it has sat gathering dust (and mould in the Jakarta humidity) ever since.  Until yesterday!

"Snowy" is a very basic ice-cream maker (read: churner) that you can pick up for about $30-40 in the post-Christmas sales.  It's very simple, you just grab the bowl and pop it in your freezer for about 24 hours before you want to use the machine.  You can leave it in a plastic bag if you want it to chill-up faster, but I have found results a little less than stellar if you scrimp on the time the bowl spends in the freezer.


Now, my friend the Red Avenger has been experimenting with her ice cream maker for a number of months now and churning out the most amazing and unusual flavours.  Sweet-potato ice cream, frozen yoghurt with lemon curd ripple, etc etc - all very David Lebovitz  (http://www.davidlebovitz.com), the man who invented caramelised bacon ice cream, burnt bread ice cream and, the one I've been dying to try, Guinness and chocolate ice cream.  So, with David and the Red Avenger as my ice cream idols, I decided to depart from the basic vanilla bean ice cream mix and try something a (very) little bit more adventurous.  I'm not quite at the bacon ice cream stage of ice cream making, but I did have a very nice jar of plum jam that hadn't set quite as well as the others and which thought would make a lovely "ripple" in a basic recipe.    Here's how I did it.

Cinnamon and Plum Swirl Ice Cream


Ingredients:


-  1 vanilla bean
-  1 cinnamon stick (2 if you want a really cinnamon-y flavour)
-  1 & 2/3 cup milk
-  600ml thickened cream (that's right, this baby is not diet-oriented)
-  8 egg yolks
-  3/4 cup raw caster sugar (normal caster sugar is fine, but this gives a richer flavour)
-  5 tablespoons of failed plum jam (just a thickened fruit syrup, you can replace with store bought raspberry coulis or similar)


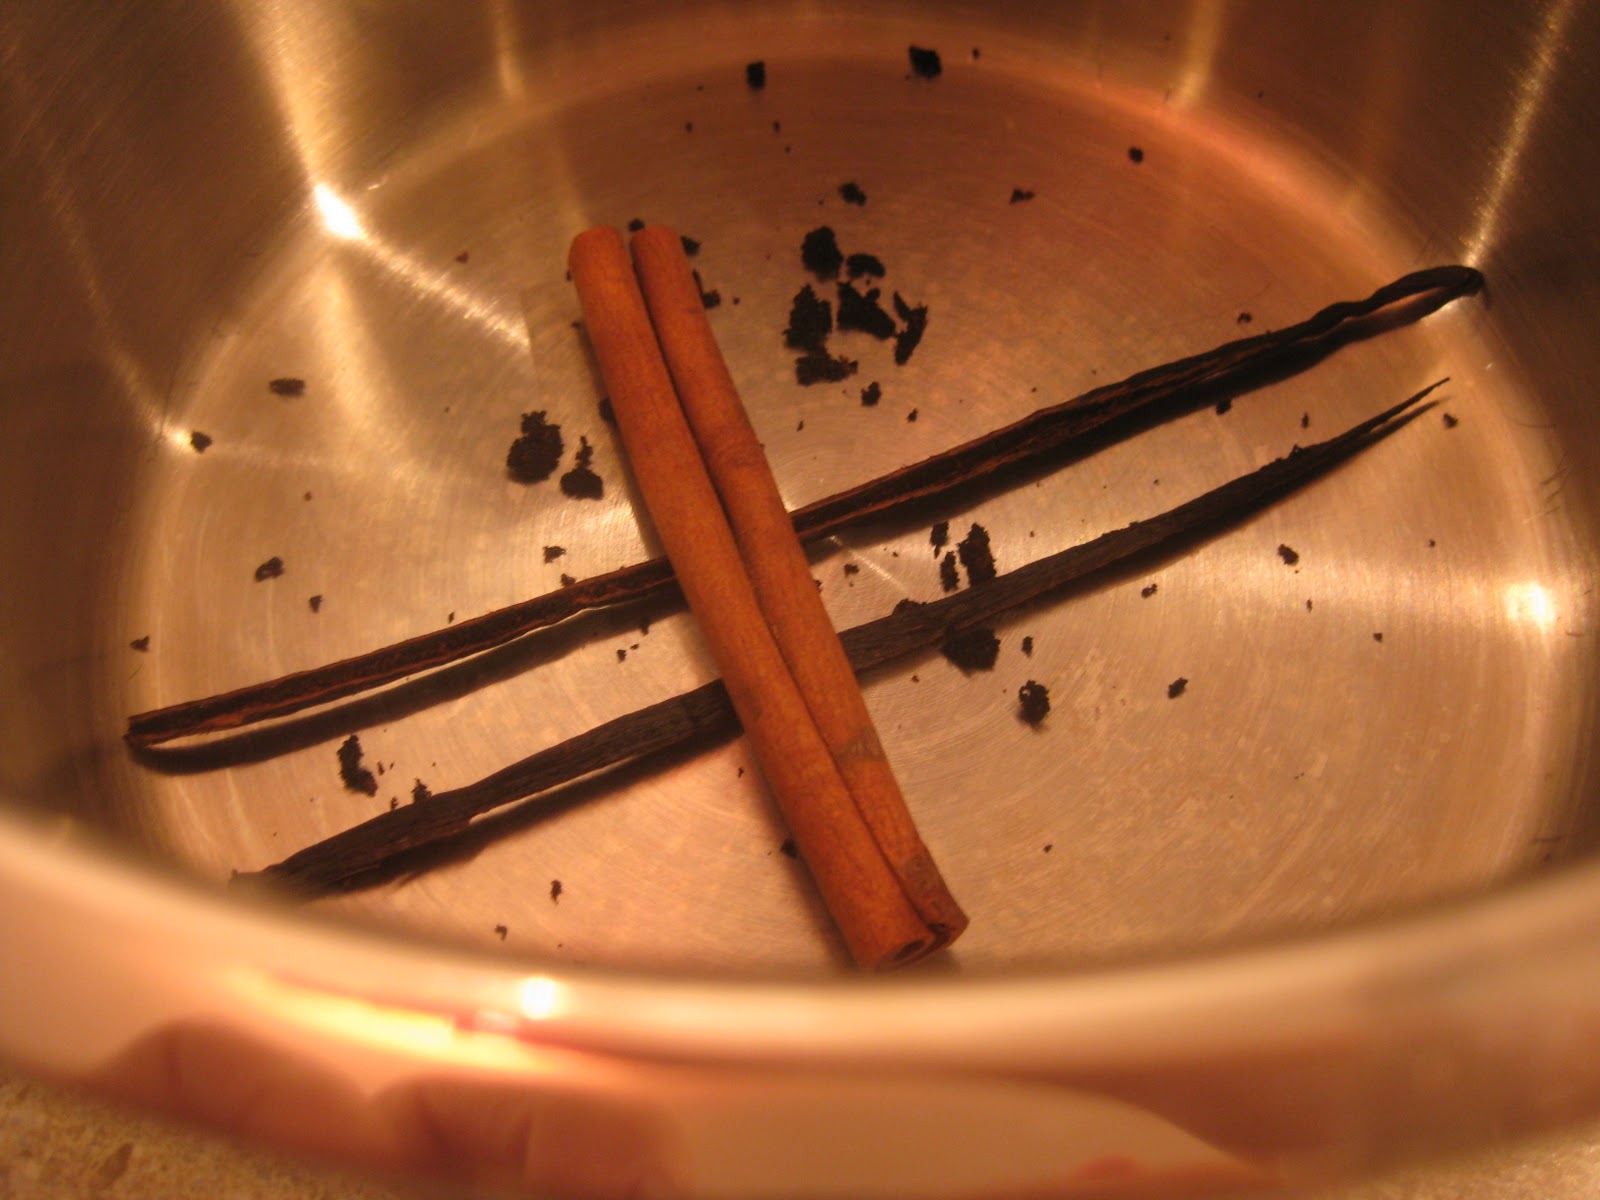
I started by splitting the vanilla bean and scraping out the teeny-tiny seeds inside.  I then popped the cinnamon stick, the vanilla bean pods and all the seeds into a saucepan.  I poured the milk and the cream on top and popped it on a medium-high heat, stirring every so often, until it hit boiling point.  It takes a while, so it's time to move onto stage two, while that's heating up on the hob.


Meanwhile, take the vast majority of the contents of one carton of eggs and separate the yolks from the whites.  If you were a thrifty cook, you may like to use the egg whites in a meringue or some sort of pavlova.  I, however, am not a terribly thrifty cook and also, it turns out, not spectacularly good at separating eggs, so there were a few dribs and drabs of yolk in my whites, so out to the bin they went. Such a waste. 


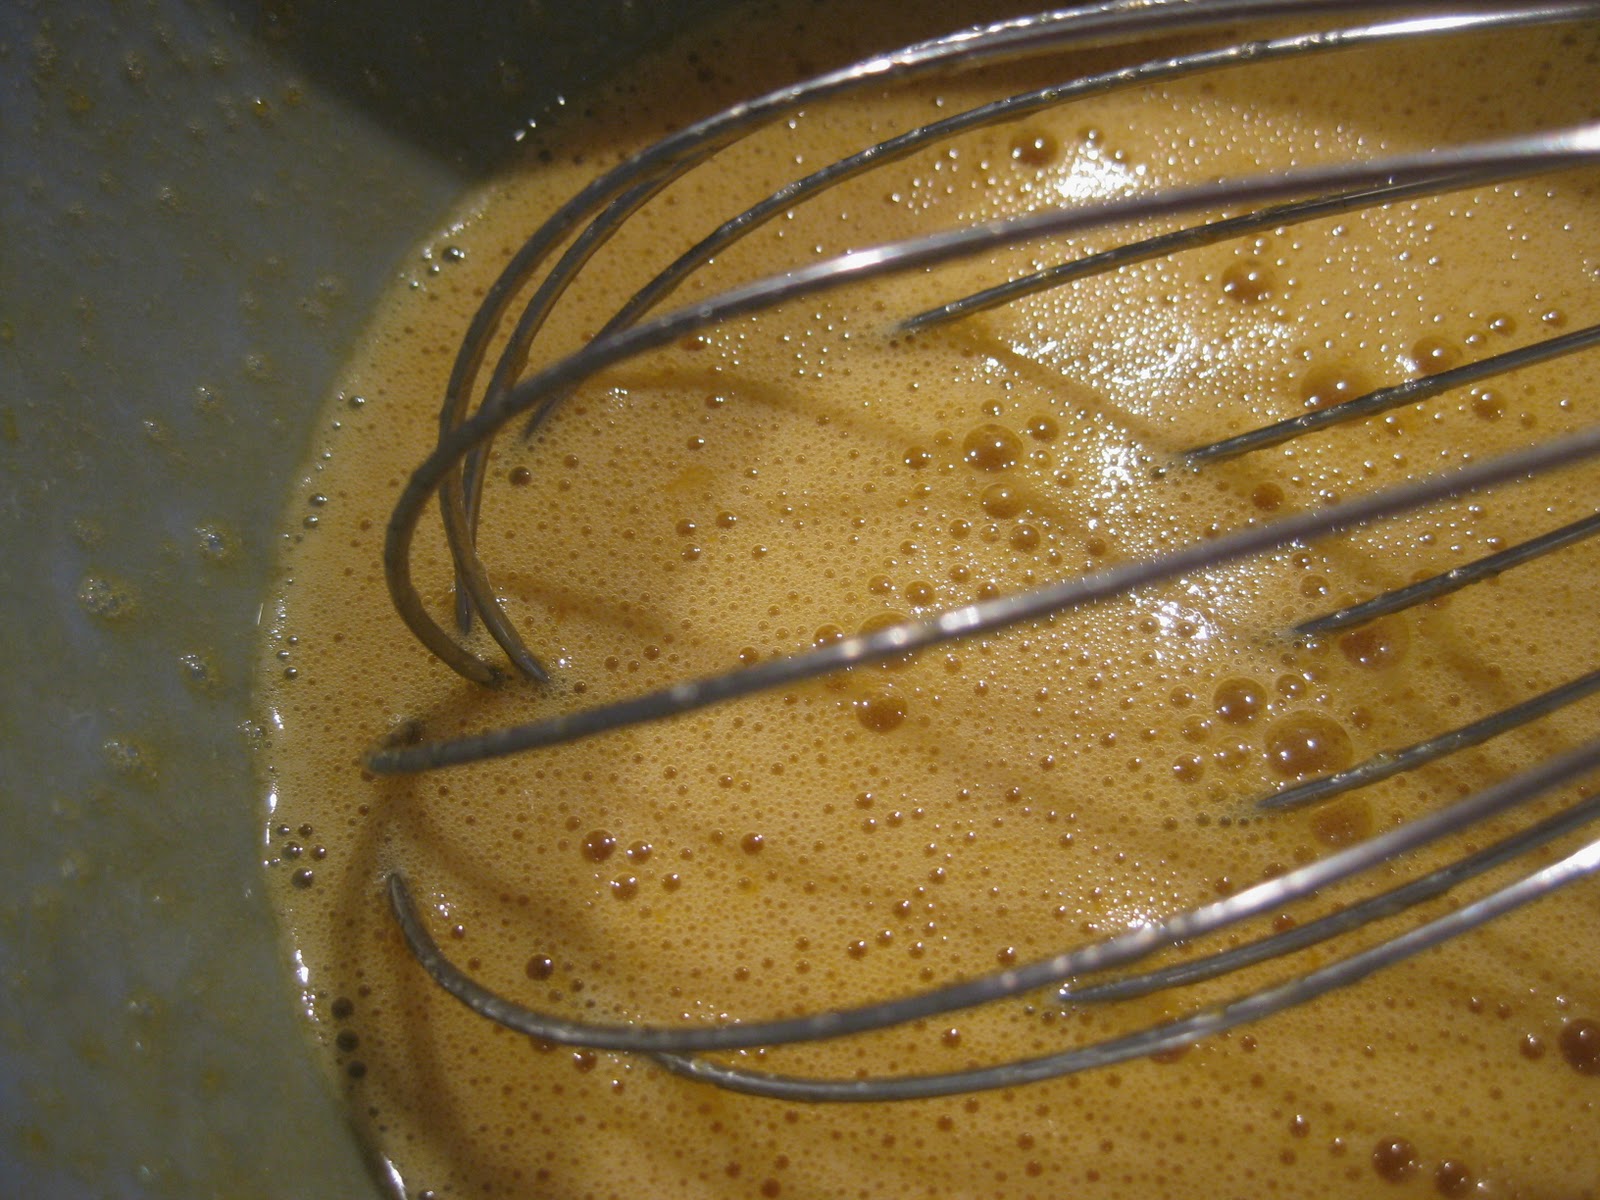
Take your eight egg yolks and whisk them in a bowl with the caster sugar.  I used raw caster sugar which gives everything a slightly richer, more caramel taste, but plain caster sugar is just as yummy.  The raw caster sugar gives it a brown look when you whisk, but it still turned out just fine...


Now that your milk-cream-cinnamon-and-vanilla mixture is just hitting boiling point, knock the heat back to low and whisk in your egg-and-caster-sugar mix, a bit at a time.  Stir over a low heat until it thickens up, but make sure the heat is not too high, or your egg will cook!  You can test the "thickness" on the back of your mixing spoon.  The picture below shows you what it should look like before you take it off the hob.


Time to pop the mixture through a sieve to fish out all the vanilla bean pods, cinnamon and other gluggy-bits which inevitably pop up.


Take your time and use a spoon to push through as much custard base as you can.  Eventually you will end up with a sweet, vanilla-flecked custard base.  Cover the bowl with cling wrap and put it straight into the fridge.   Most recipes will tell you it needs to stay in there for an hour, but really the best ice cream results from an absolutely chilled base mix, so my advice is to leave it in the fridge overnight.  When you come back and it's as cold as your milk, then you can proceed to the next step.  If you scrimp, the results may not be as fabulous.  And we do so love fabulous.


Now, free your ice cream maker's base from its spell in the freezer, pour in your chilled custard base and churn according to the ice cream maker's instructions.  In my case, you pop the lid on and press the "on" button.


 My machine does a little jig when it's ready (no really, the churn bounces back and forth like it's doing the twist), but this is what it looks like when it's time for the base to go into the freezer.


The mixture is soft and gloopy, but is starting to look (and taste) like ice cream.  So grab yourself a metal loaf baking tin (or similar).  If you are happy with having all the ice cream one single flavour, then you can pop it all in the tin, cover it in foil and put it straight into the freezer to harden the f-up.  But if, like me, you want to add in a little something extra just scoop half the ice cream mix into the bottom of the tin before you add in the fruit ripple.


If you don't happen to have a fruit jelly available, like I had from my failed batch of plum jam, you could either buy a commercially-made fruit sauce or coulis, or make up a thick fruit sugar-syrup yourself.  


Now, drizzle the fruit jelly over the top of the first layer of ice cream mix.


Next, add a top layer of ice cream mix over the top, cover the loaf tin with foil and pop it straight into the freezer.   It stays there until it's firm, about 8 hours in my freezer, but things could be different in yours, so just check on it every so often and have a taste.  I know I did.


About 5-12 hours later, depending on the strength of your freezer, you have yourself some mighty fine ice cream.  So turn on the fan, get on your shorts and scoop yourself a bowl-full!