Showing posts with label plum jam. Show all posts

Saturday, January 1, 2011

Cinnamon and Plum Swirl Ice Cream for Hot Days


After a mild, wet summer suddenly the hot weather has hit with a vengeance...and I am house bound!  Luckily our apartment is unusually cool because we don't have air conditioning, but even still it is damn hot at the moment.  So, as I listened to the cicadas I started to think about what to do with my day.  I've been thinking about all the paraphernalia in my kitchen which I have never, ever used, and had decided to start a series of projects that forced me to use those items.  The following items are just a few of the weird and wonderful gadgets and gizmos in my kitchen I need to learn how to use:


And that's when I noticed it.  Through the heat haze it appeared to be a mirage of icy deliciousness, evoking the frozen tundras of the Siberian plains... I was a little heat addled, so it seemed.  But there it was, my ice cream maker.  Now I should note in the interests of honesty that I have used an ice cream maker before.  When I lived with my cook-extraordinaire mother I used her ice cream maker (a very similar design) to make a vanilla, honey and lavender ice-cream for Christmas one year.  The current ice cream maker in my cupboard, however, has never been used.  My Grandma bought it for me shortly before my departure to Indonesia and it has sat gathering dust (and mould in the Jakarta humidity) ever since.  Until yesterday!

"Snowy" is a very basic ice-cream maker (read: churner) that you can pick up for about $30-40 in the post-Christmas sales.  It's very simple, you just grab the bowl and pop it in your freezer for about 24 hours before you want to use the machine.  You can leave it in a plastic bag if you want it to chill-up faster, but I have found results a little less than stellar if you scrimp on the time the bowl spends in the freezer.


Now, my friend the Red Avenger has been experimenting with her ice cream maker for a number of months now and churning out the most amazing and unusual flavours.  Sweet-potato ice cream, frozen yoghurt with lemon curd ripple, etc etc - all very David Lebovitz  (http://www.davidlebovitz.com), the man who invented caramelised bacon ice cream, burnt bread ice cream and, the one I've been dying to try, Guinness and chocolate ice cream.  So, with David and the Red Avenger as my ice cream idols, I decided to depart from the basic vanilla bean ice cream mix and try something a (very) little bit more adventurous.  I'm not quite at the bacon ice cream stage of ice cream making, but I did have a very nice jar of plum jam that hadn't set quite as well as the others and which thought would make a lovely "ripple" in a basic recipe.    Here's how I did it.

Cinnamon and Plum Swirl Ice Cream


Ingredients:


-  1 vanilla bean
-  1 cinnamon stick (2 if you want a really cinnamon-y flavour)
-  1 & 2/3 cup milk
-  600ml thickened cream (that's right, this baby is not diet-oriented)
-  8 egg yolks
-  3/4 cup raw caster sugar (normal caster sugar is fine, but this gives a richer flavour)
-  5 tablespoons of failed plum jam (just a thickened fruit syrup, you can replace with store bought raspberry coulis or similar)


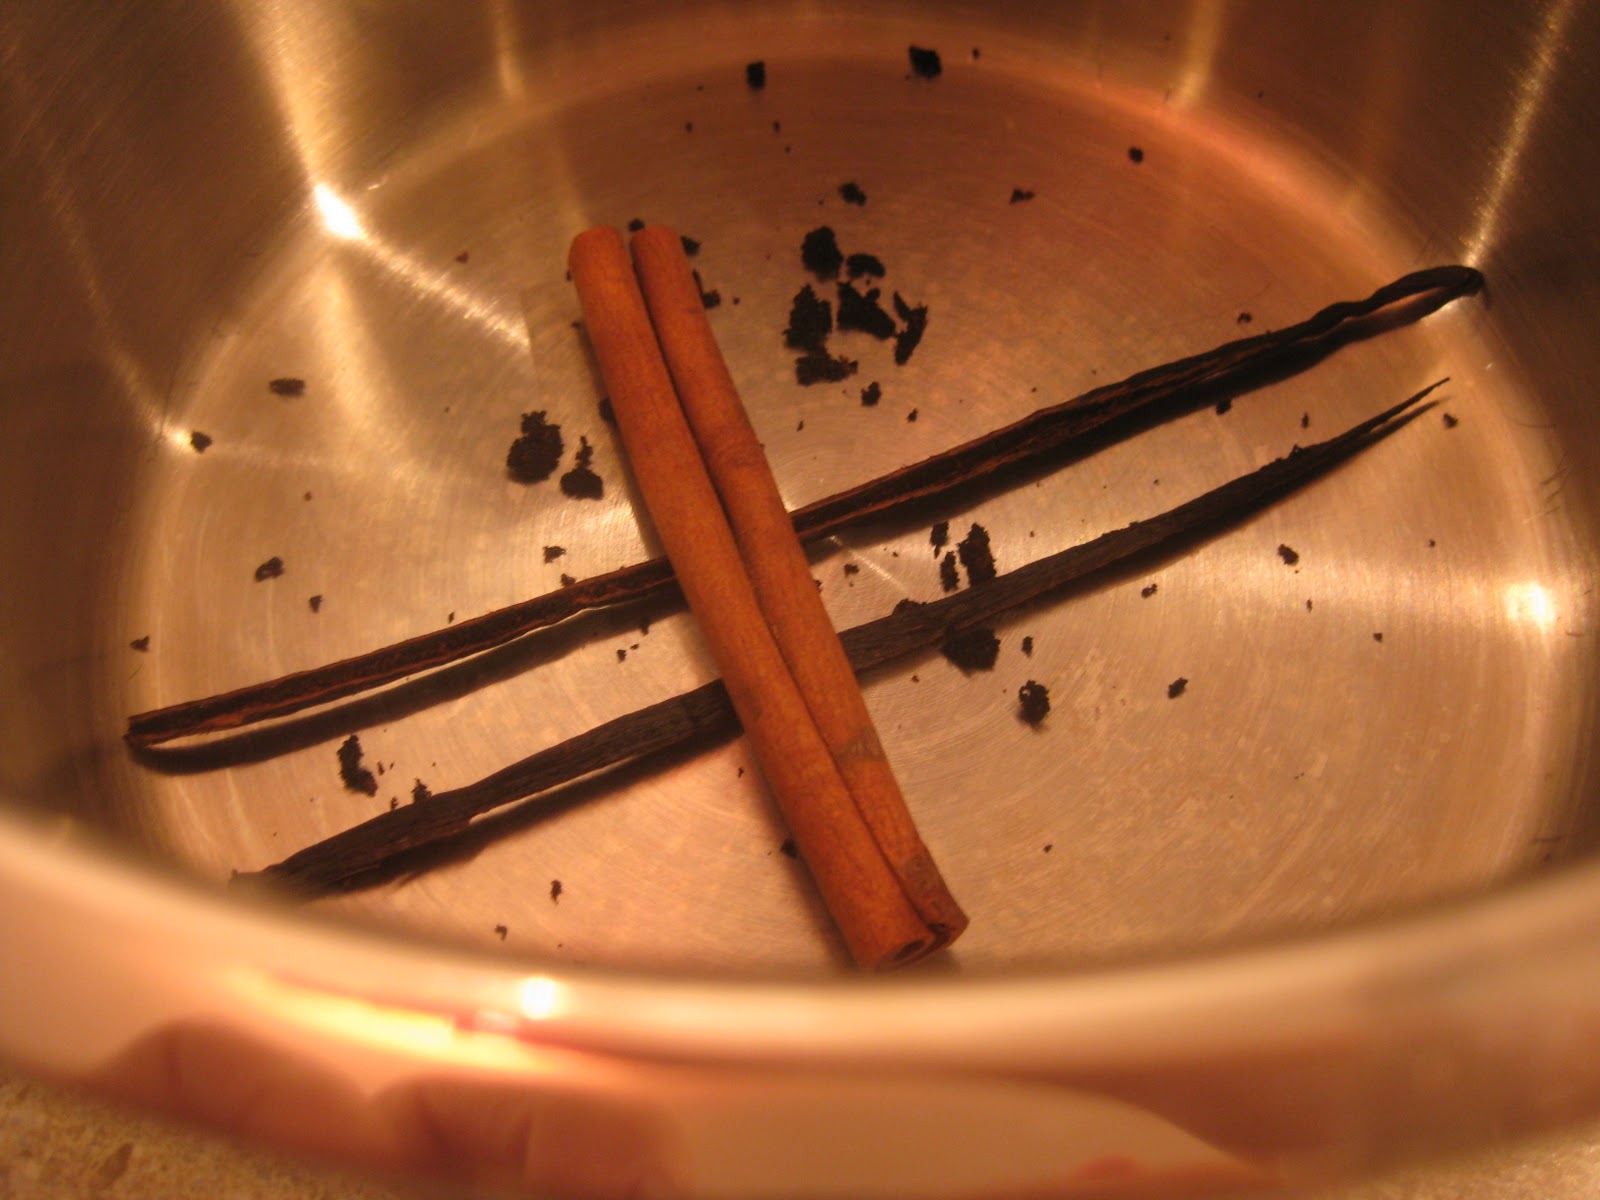
I started by splitting the vanilla bean and scraping out the teeny-tiny seeds inside.  I then popped the cinnamon stick, the vanilla bean pods and all the seeds into a saucepan.  I poured the milk and the cream on top and popped it on a medium-high heat, stirring every so often, until it hit boiling point.  It takes a while, so it's time to move onto stage two, while that's heating up on the hob.


Meanwhile, take the vast majority of the contents of one carton of eggs and separate the yolks from the whites.  If you were a thrifty cook, you may like to use the egg whites in a meringue or some sort of pavlova.  I, however, am not a terribly thrifty cook and also, it turns out, not spectacularly good at separating eggs, so there were a few dribs and drabs of yolk in my whites, so out to the bin they went. Such a waste. 


Take your eight egg yolks and whisk them in a bowl with the caster sugar.  I used raw caster sugar which gives everything a slightly richer, more caramel taste, but plain caster sugar is just as yummy.  The raw caster sugar gives it a brown look when you whisk, but it still turned out just fine...
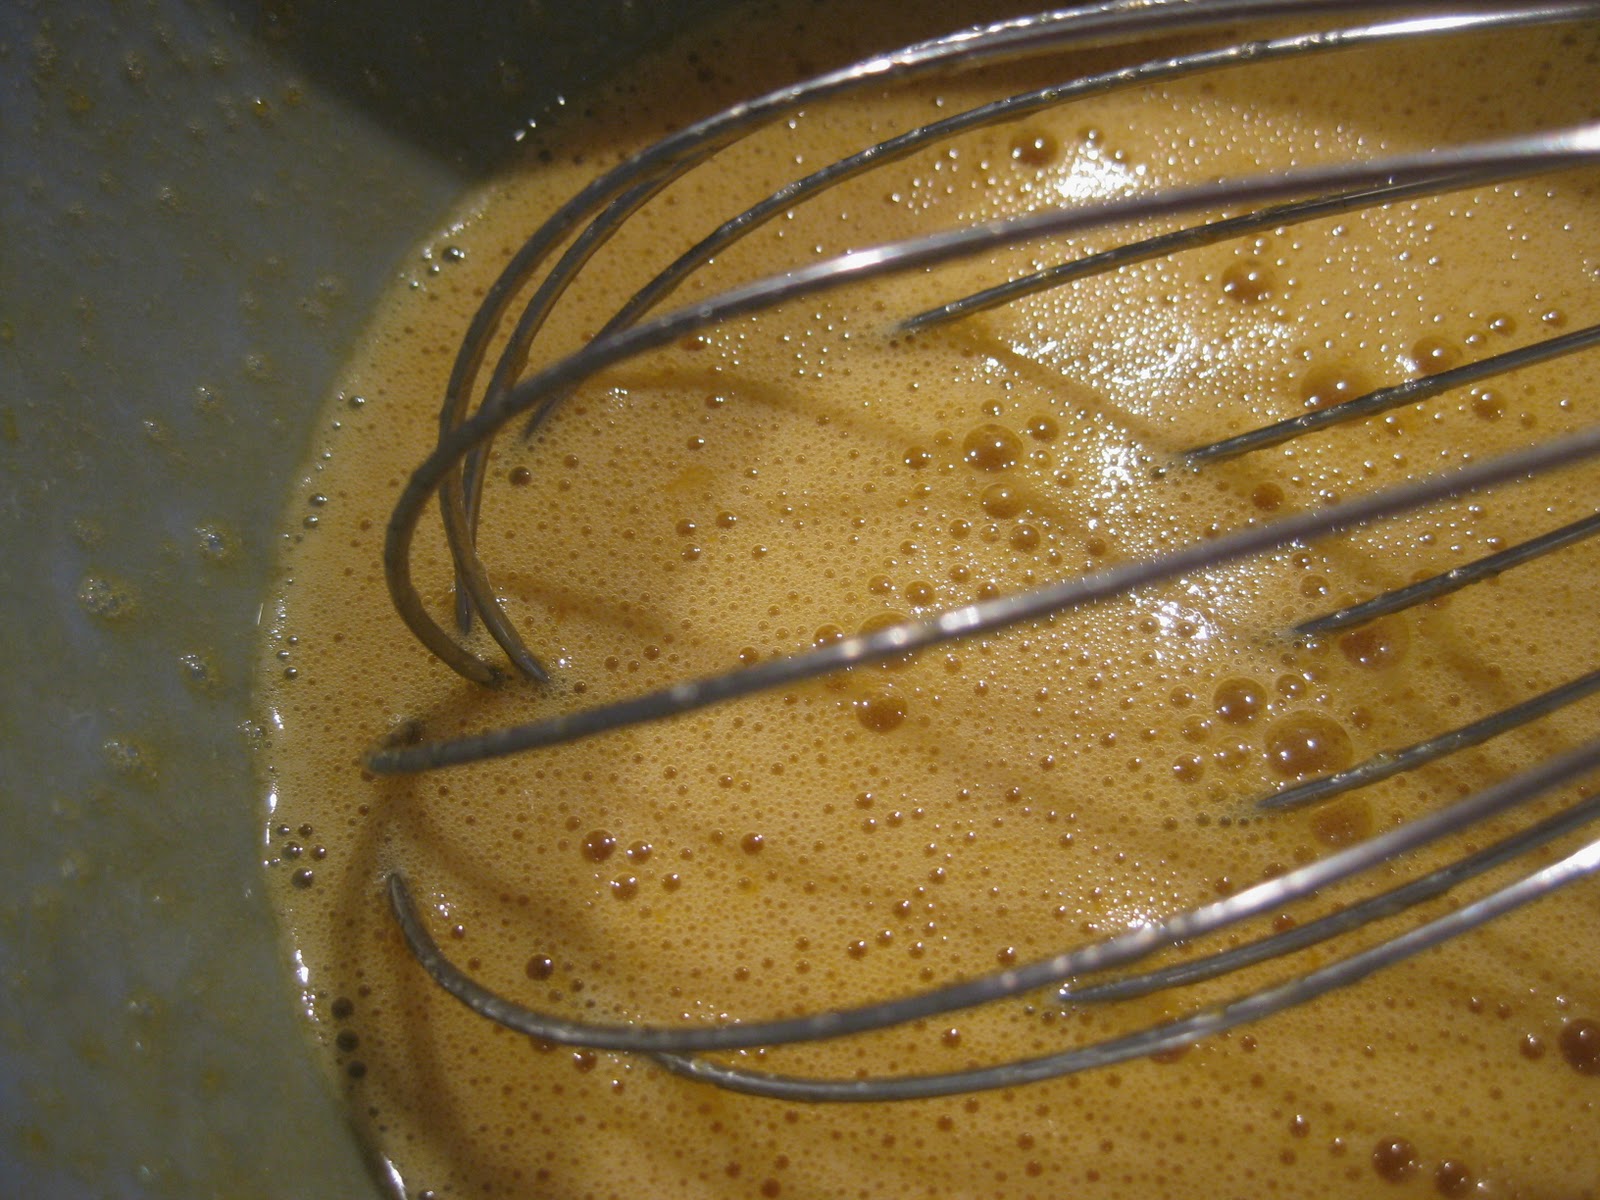


Now that your milk-cream-cinnamon-and-vanilla mixture is just hitting boiling point, knock the heat back to low and whisk in your egg-and-caster-sugar mix, a bit at a time.  Stir over a low heat until it thickens up, but make sure the heat is not too high, or your egg will cook!  You can test the "thickness" on the back of your mixing spoon.  The picture below shows you what it should look like before you take it off the hob.


Time to pop the mixture through a sieve to fish out all the vanilla bean pods, cinnamon and other gluggy-bits which inevitably pop up.


Take your time and use a spoon to push through as much custard base as you can.  Eventually you will end up with a sweet, vanilla-flecked custard base.  Cover the bowl with cling wrap and put it straight into the fridge.   Most recipes will tell you it needs to stay in there for an hour, but really the best ice cream results from an absolutely chilled base mix, so my advice is to leave it in the fridge overnight.  When you come back and it's as cold as your milk, then you can proceed to the next step.  If you scrimp, the results may not be as fabulous.  And we do so love fabulous.


Now, free your ice cream maker's base from its spell in the freezer, pour in your chilled custard base and churn according to the ice cream maker's instructions.  In my case, you pop the lid on and press the "on" button.


 My machine does a little jig when it's ready (no really, the churn bounces back and forth like it's doing the twist), but this is what it looks like when it's time for the base to go into the freezer.


The mixture is soft and gloopy, but is starting to look (and taste) like ice cream.  So grab yourself a metal loaf baking tin (or similar).  If you are happy with having all the ice cream one single flavour, then you can pop it all in the tin, cover it in foil and put it straight into the freezer to harden the f-up.  But if, like me, you want to add in a little something extra just scoop half the ice cream mix into the bottom of the tin before you add in the fruit ripple.


If you don't happen to have a fruit jelly available, like I had from my failed batch of plum jam, you could either buy a commercially-made fruit sauce or coulis, or make up a thick fruit sugar-syrup yourself.  


Now, drizzle the fruit jelly over the top of the first layer of ice cream mix.


Next, add a top layer of ice cream mix over the top, cover the loaf tin with foil and pop it straight into the freezer.   It stays there until it's firm, about 8 hours in my freezer, but things could be different in yours, so just check on it every so often and have a taste.  I know I did.


About 5-12 hours later, depending on the strength of your freezer, you have yourself some mighty fine ice cream.  So turn on the fan, get on your shorts and scoop yourself a bowl-full!


Monday, December 20, 2010

Late night Sunday snack... plum jam, whipped cream and buttermilk scones

What do you do when you feel a mite peckish on a Sunday night (...after you've made up a delicious batch of plum jam)?  Why, whip up a batch of super fast buttermilk scones from the Southern Living Cookbook of course.  Or rather "biscuits" as they're known in the US of A.  But here a cookie is a biscuit, and a biscuit is a scone.  But I digress.


First add 2 cups of self raising flour to a nice, high-sided bowl.  And don't forget to pre-heat the oven to 220 degrees celcius.  Add 1/2 cup of butter to the flour, cut into cubes, and use a pastry cutter to mix in with the flour.  When it starts to look all crumbly, you add in enough buttermilk to bind the mix into a nice solid dough.

Turn out onto a floured bench and kneed a couple of times, but not too much or it won't be nice and flaky.  Cut into rounds with a round scone cutter (I like the scalloped edged cutters, they just look yummier), then lay out on a baking tray.  Make the clean-up easier by using baking paper - I hate greasing things up, so I just prefer to use baking paper where I can.  Then pop a bit of the buttermilk on the top with a pastry brush to give them a nice glaze when you bake them.  I use a silicone brush, also for easy clean up - just chuck it in the dishwasher and it's a cinch.  So, now they're glazed, pop them in the oven for about 15 minutes or until they are puffed up nicely and a shiny, golden brown on top.

Meanwhile, I recommend whipping up some cream.  Add in a couple of tablespoons of icing sugar and a teaspoon of vanilla extract.  Mmmmmm, chantilly cream.

When the scones are ready, take them out while they are steaming hot.  The outsides will be crispy and the insides soft and fluffy.  You don't even need to cut them in half, just use your fingers to split them.  Spread some delicious jam (plum is a good option...) on each side, then dollop with just enough cream to cover them.  Enjoy!  I know I did...

Saturday, December 18, 2010

The weekend of the plum...


For the last five years we've had very, very little rain.  But that's all over now, with half the country in flood and my umbrella getting a fairly regular workout.  As a result, this summer has been a spectacular year for plums.  Now these are not the usual eating plums grown commercially or in the backyards of folk with green thumbs.  All around the area we live in are ornamental plum trees grown mostly for the beautiful blossoms they produce in spring and their purple foliage.  The cherry-tomato sized, sour plums they produce in the summer are mostly a nuisance for people walking on the surrounding paths and a boon for the birds and possums.  Not this year though.  The plum trees seem to have gone a little mad with the amount of water we've had in the last few months, and are literally bending over with fruit - the sweetest, juiciest fruit I've ever seen.

Now, my thrifty boyfriend and I were not about to let all that delicious, unclaimed fruit go to waste, so we grabbed some plastic bags and went a-picking.  The result - about 20 kilograms of plums of two varieties, one yellow-fleshed and sweet, another smaller with a ruby-coloured flesh that has a wonderfully sour aftertaste.  The next question - what on earth do you do with 20 kilograms of plums?

Answer:

- plum jam
- plum syrup
- plum-infused vodka
- plum wine (see boy-blog post to follow)

So my boyfriend and I split the bounty and below are some pictures of my share of the plums.


Plum Jam

For some reason, I always bought my Dad plum jam whenever I saw it at school fetes and gift stores.  I don't know how I got it in my head that he loved plum jam, but he certainly got given a lot of it!  I can't say that I have eaten much plum jam in recent years, so I was really interested to see how this batch would turn out.  This is an entirely made up as I went along recipe, based on the verbal advice of my work colleague, Susan, who has a lot of experience making plum jam from her now (sadly deceased) backyard plum tree.  I have faithfully recorded the amount of each ingredient I used from the batch of jam that really jelled well.  There was a prior not-so-great batch in which I added far too much water and we shall never speak of it again.  So, here it is, my successful plum jam recipe.  As you can see, the ingredients list is both short and sweet.

Ingredients

2.5 kg    plums
1.25 kg  white sugar
2 cups    water

First pick and wash your plums.  Or buy them - it's up to you.   Next, add a couple of saucers to your freezer.  Do this now before you forget in your eagerness to get down to business, otherwise when you go to check the jelling point of the jam, you will be all a-fluster.  It's happened to me before, so do this early!  Another thing to do before you get going is to beg, borrow or (shudder) buy enough jars to hold all the delicious jam you are about to make.  Make sure you've washed them all so they are ready to go.  If you have a fairly new dishwasher, you should be able to sterilise them by putting them through a wash before you start.  Otherwise, you will need to boil them up to sterilise the jars, but I will go into that later.


Now that the saucer is in the freezer, and you have a good supply of clean jars at hand, you can add your plums and water to a large soup pot and pop it on the stove on a medium-high heat.  Although it doesn't look like enough water, believe me it is - the plums themselves will soon begin to breakdown and add their red juice into the mix, so stir every so often as the process starts down the bottom of the pot.


Keep on a nice, even simmer, stirring occasionally and watching the foaming plums as they erupt up to the top of the liquid, shedding their skins and then liquifying into a ruby-coloured gooey-ness.


Eventually the pips will rise to the surface, mostly encased in a bit of yummy plum flesh.  Now is the time to forgive yourself in advance for any pips which make it through the next step of the process - you will never get them all out, no matter how hard you try.  It's inevitable, so don't stress.  Deep breath.  Now, using a slotted spoon, start scooping out the pips.  I used a smaller spoon to try and push the last of the flesh and skin back through the slots, while the pips stayed put on the top.  Then I dumped the pips in a discards bowl.

When it's getting to the stage that you're not getting any pips when you scoop a few times, then it's time to add the sugar.  Dump it all in, stir until it's combined and make sure the jam is at a nice simmer.  The bubbling of the ruby-juice and the rose-pink foam is actually quite hypnotising.  This is the stage where - aside from stirring occasionally to make sure nothing sticks on the bottom of the pot - you can leave the almost-jam to its own devices while you sterilise the jars.  You're waiting for the liquid to get sticky and thick as it nears its jelling point.  It's hard to say just by watching when this is done - it took about 40 minutes for mine to reach its jelling point, but I'm not sure how much it varies depending on the type of plum you use.

While this process is happening, grab another large pot or high-sided frypan and fill it 2/3rd of the way up with water.  Pop your jars into the water, and the lids, and put it on the stovetop at a medium heat until it starts to simmer.  I did about three at a time, but it depends on the size of your pot and the size of your jars.  Because my pot is shallow, I move them around a lot with tongs, to make sure all the glass gets heated up (and sterile) before I start my bottling.  I should add at this point that I am a sterilising novice, and would welcome any additional advice on the process!


Now, back to the main event.  This is when the saucers you put in the freezer earlier come in handy.  Grab one and plop a small teaspoon-full of your almost-jam onto the saucer.  Pop it back in the freezer for a few minutes and then check it.  If it looks as gluggy and glossy as jam should, then it's ready.  If not, keep stirring, and pop that saucer back in the freezer for the next test.  Repeat, repeat, repeat until it all looks good, and the jam is ready to go.


Bring your jars out of the water and make sure they're completely dry.   I use tongs and a tea-towel, as the glass is very hot, so be careful.  Now, using a soup ladle, pour your jam into your jars.  While everything is still hot, put on your jar lid very, very tightly.  As the jam and the jars cool, the lids should "pop" inwards as a vacuum seal is created.  If the lids don't do this, you should probably store them in the fridge rather than the pantry.  Other than that, give the jars a good clean on the outside, add a ribbon if you're planning on giving a jar to a (very lucky friend) and enjoy!  I plan on making some buttermilk scones tonight to have my first taste on - photos to follow.