
After a mild, wet summer suddenly the hot weather has hit with a vengeance...and I am house bound! Luckily our apartment is unusually cool because we don't have air conditioning, but even still it is damn hot at the moment. So, as I listened to the cicadas I started to think about what to do with my day. I've been thinking about all the paraphernalia in my kitchen which I have never, ever used, and had decided to start a series of projects that forced me to use those items. The following items are just a few of the weird and wonderful gadgets and gizmos in my kitchen I need to learn how to use:


And that's when I noticed it. Through the heat haze it appeared to be a mirage of icy deliciousness, evoking the frozen tundras of the Siberian plains... I was a little heat addled, so it seemed. But there it was, my ice cream maker. Now I should note in the interests of honesty that I have used an ice cream maker before. When I lived with my cook-extraordinaire mother I used her ice cream maker (a very similar design) to make a vanilla, honey and lavender ice-cream for Christmas one year. The current ice cream maker in my cupboard, however, has never been used. My Grandma bought it for me shortly before my departure to Indonesia and it has sat gathering dust (and mould in the Jakarta humidity) ever since. Until yesterday!
"Snowy" is a very basic ice-cream maker (read: churner) that you can pick up for about $30-40 in the post-Christmas sales. It's very simple, you just grab the bowl and pop it in your freezer for about 24 hours before you want to use the machine. You can leave it in a plastic bag if you want it to chill-up faster, but I have found results a little less than stellar if you scrimp on the time the bowl spends in the freezer.

Now, my friend the Red Avenger has been experimenting with her ice cream maker for a number of months now and churning out the most amazing and unusual flavours. Sweet-potato ice cream, frozen yoghurt with lemon curd ripple, etc etc - all very David Lebovitz (http://www.davidlebovitz.com), the man who invented caramelised bacon ice cream, burnt bread ice cream and, the one I've been dying to try, Guinness and chocolate ice cream. So, with David and the Red Avenger as my ice cream idols, I decided to depart from the basic vanilla bean ice cream mix and try something a (very) little bit more adventurous. I'm not quite at the bacon ice cream stage of ice cream making, but I did have a very nice jar of plum jam that hadn't set quite as well as the others and which thought would make a lovely "ripple" in a basic recipe. Here's how I did it.
Cinnamon and Plum Swirl Ice Cream
Ingredients:
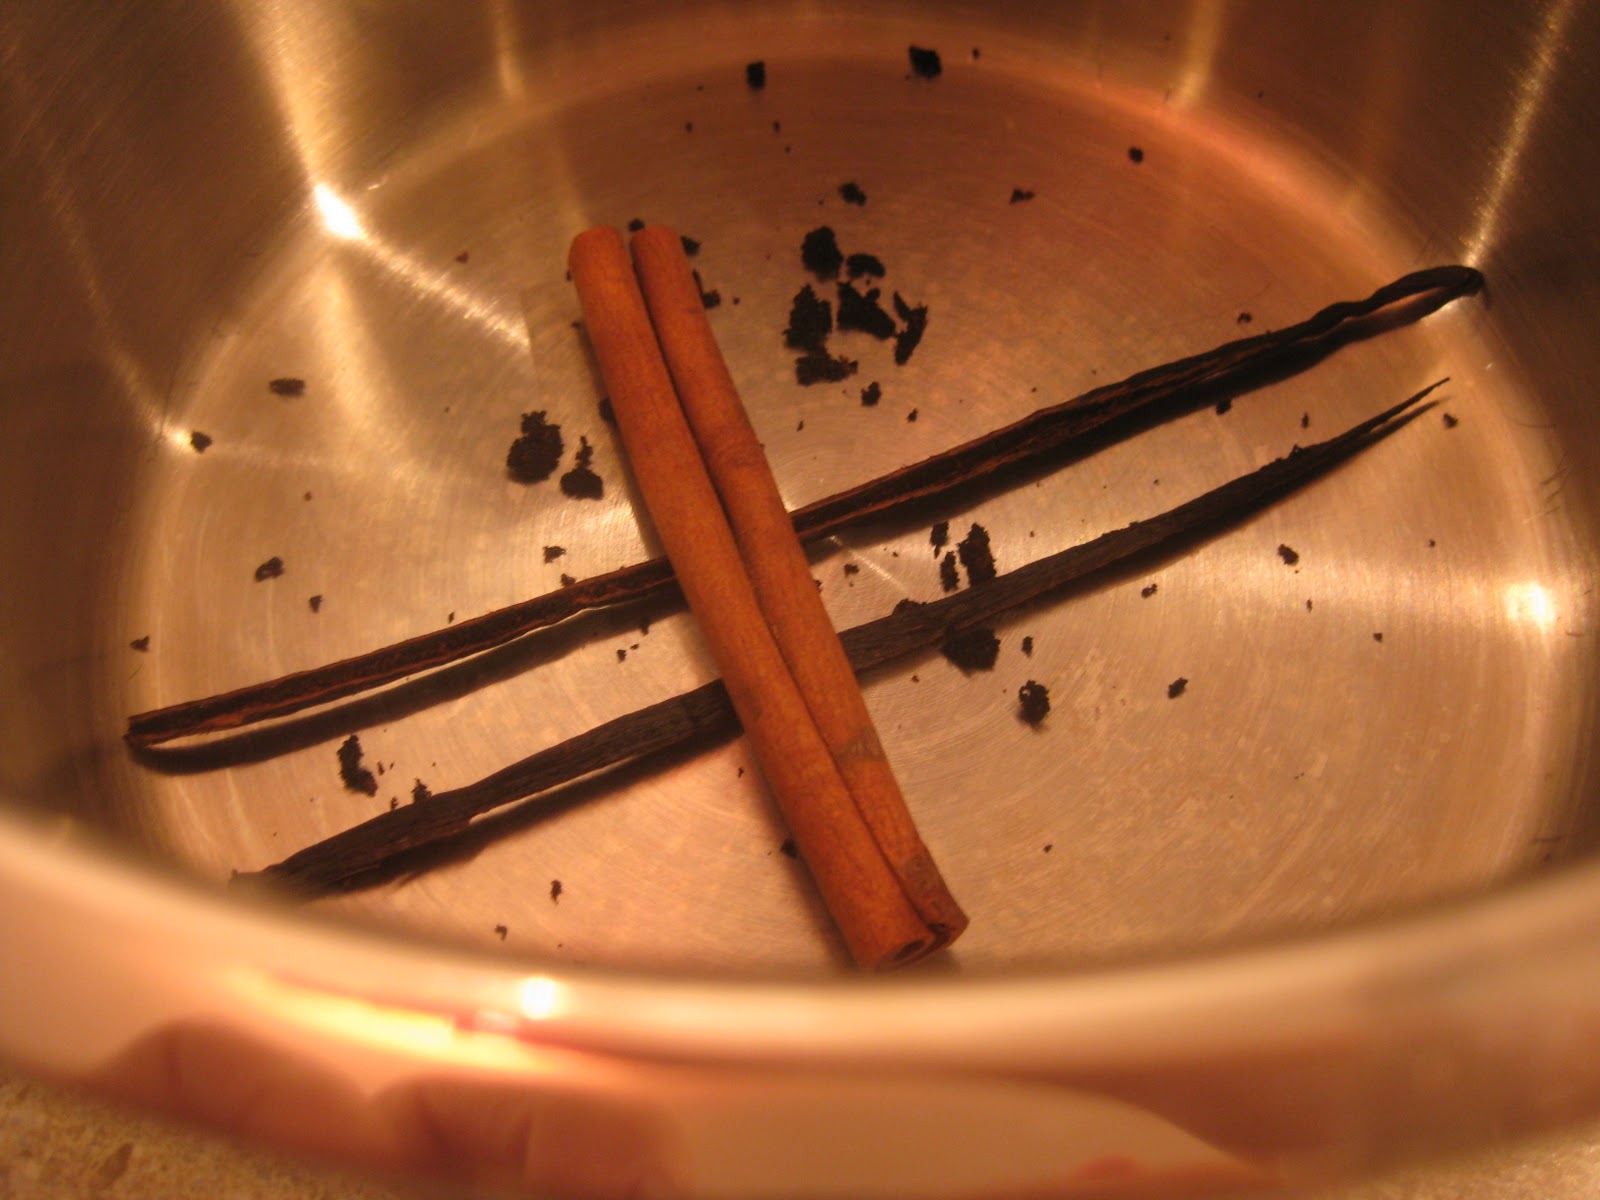
- 1 vanilla bean
- 1 cinnamon stick (2 if you want a really cinnamon-y flavour)
- 1 & 2/3 cup milk
- 600ml thickened cream (that's right, this baby is not diet-oriented)
- 8 egg yolks
- 3/4 cup raw caster sugar (normal caster sugar is fine, but this gives a richer flavour)
- 5 tablespoons of failed plum jam (just a thickened fruit syrup, you can replace with store bought raspberry coulis or similar)


I started by splitting the vanilla bean and scraping out the teeny-tiny seeds inside. I then popped the cinnamon stick, the vanilla bean pods and all the seeds into a saucepan. I poured the milk and the cream on top and popped it on a medium-high heat, stirring every so often, until it hit boiling point. It takes a while, so it's time to move onto stage two, while that's heating up on the hob.

Meanwhile, take the vast majority of the contents of one carton of eggs and separate the yolks from the whites. If you were a thrifty cook, you may like to use the egg whites in a meringue or some sort of pavlova. I, however, am not a terribly thrifty cook and also, it turns out, not spectacularly good at separating eggs, so there were a few dribs and drabs of yolk in my whites, so out to the bin they went. Such a waste.


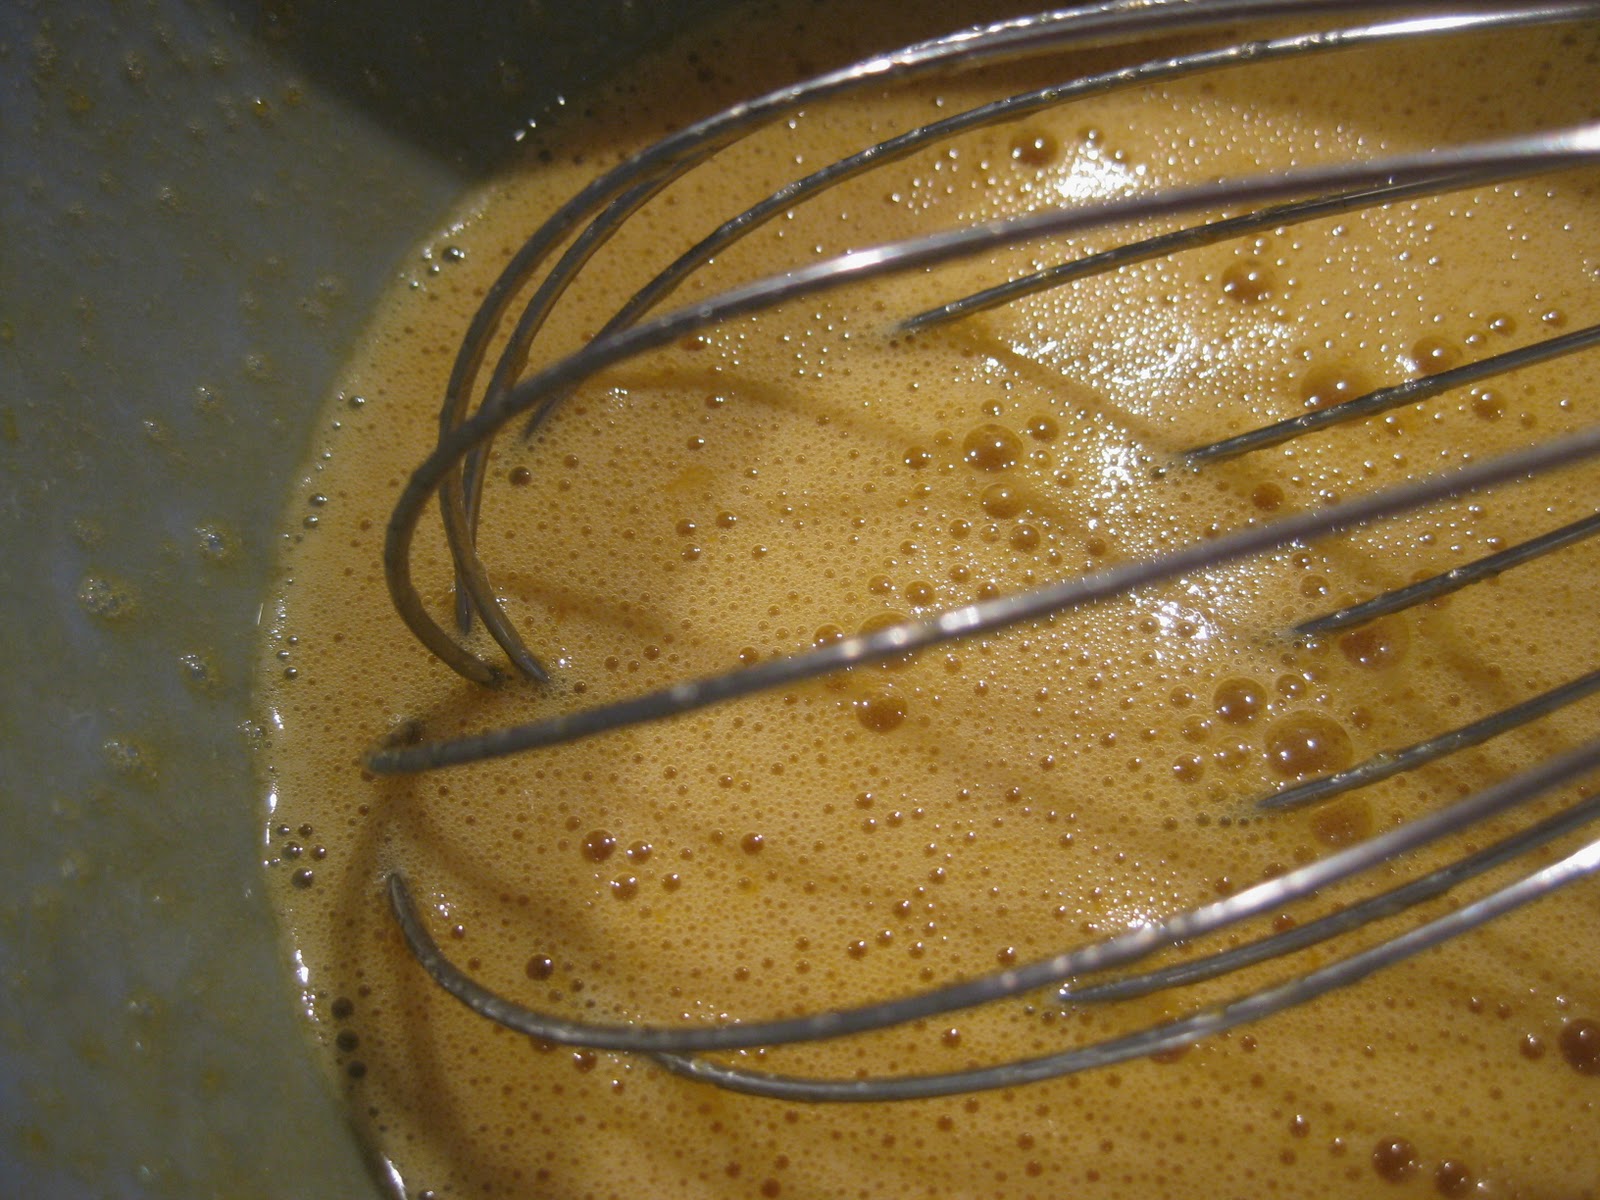
Take your eight egg yolks and whisk them in a bowl with the caster sugar. I used raw caster sugar which gives everything a slightly richer, more caramel taste, but plain caster sugar is just as yummy. The raw caster sugar gives it a brown look when you whisk, but it still turned out just fine...
Now that your milk-cream-cinnamon-and-vanilla mixture is just hitting boiling point, knock the heat back to low and whisk in your egg-and-caster-sugar mix, a bit at a time. Stir over a low heat until it thickens up, but make sure the heat is not too high, or your egg will cook! You can test the "thickness" on the back of your mixing spoon. The picture below shows you what it should look like before you take it off the hob.

Time to pop the mixture through a sieve to fish out all the vanilla bean pods, cinnamon and other gluggy-bits which inevitably pop up.


Take your time and use a spoon to push through as much custard base as you can. Eventually you will end up with a sweet, vanilla-flecked custard base. Cover the bowl with cling wrap and put it straight into the fridge. Most recipes will tell you it needs to stay in there for an hour, but really the best ice cream results from an absolutely chilled base mix, so my advice is to leave it in the fridge overnight. When you come back and it's as cold as your milk, then you can proceed to the next step. If you scrimp, the results may not be as fabulous. And we do so love fabulous.

Now, free your ice cream maker's base from its spell in the freezer, pour in your chilled custard base and churn according to the ice cream maker's instructions. In my case, you pop the lid on and press the "on" button.


My machine does a little jig when it's ready (no really, the churn bounces back and forth like it's doing the twist), but this is what it looks like when it's time for the base to go into the freezer.


The mixture is soft and gloopy, but is starting to look (and taste) like ice cream. So grab yourself a metal loaf baking tin (or similar). If you are happy with having all the ice cream one single flavour, then you can pop it all in the tin, cover it in foil and put it straight into the freezer to harden the f-up. But if, like me, you want to add in a little something extra just scoop half the ice cream mix into the bottom of the tin before you add in the fruit ripple.

If you don't happen to have a fruit jelly available, like I had from my failed batch of plum jam, you could either buy a commercially-made fruit sauce or coulis, or make up a thick fruit sugar-syrup yourself.
Now, drizzle the fruit jelly over the top of the first layer of ice cream mix.

Next, add a top layer of ice cream mix over the top, cover the loaf tin with foil and pop it straight into the freezer. It stays there until it's firm, about 8 hours in my freezer, but things could be different in yours, so just check on it every so often and have a taste. I know I did.


About 5-12 hours later, depending on the strength of your freezer, you have yourself some mighty fine ice cream. So turn on the fan, get on your shorts and scoop yourself a bowl-full!


No comments:
Post a Comment