Saturday, January 8, 2011

Spinster's Buttons (thanks, Green & Gold Cookery Book)


I have 500 grams of mascarpone in my fridge and I do not want to use it for tiramisu or a creamy pasta.  Ice cream is an option, but having just made some last week, I was hoping for something a little more interesting to do with my stray mascarpone.  And, as frequently happens, while searching my cookbooks for a recipe, I got distracted by something completely different (ie non-mascarpone-related).  But there you have it - I am now the queen of Spinster's Buttons, but am still looking for a mascarpone recipe!

My cookbook collection is quite extensive, which is a habit I picked up from my mother.  Most of the really nice, expensive and/or glossy ones are gifts from her, actually.  But there are the odd ones I picked up in secondhand book stores when I was writing my history thesis.  Yes, I wrote my thesis on food.  To be precise, on the introduction of non-English cuisine into Australia between the 1920s and the 1970s.

My research took me to the archives of the Woolworths supermarket chain, every Australian Women's Weekly magazine from 1920 onwards and all published editions of the Country Women's Association Cookbook since the thirties.   It was one of the most enjoyable and indulgent things I have ever done.  And along the way I picked up a few gems for my cookbook library, including a first edition copy of the Green and Gold Cookery Book (NSW Edition), alas sadly bruised and battered, and most recently disused and neglected.  If truth be told, I haven't cooked out of it since I bought it.  But now that has all changed.


Originally published in Adelaide in 1923 as a fundraising vehicle for King's College, my edition is the first NSW edition issued by the Women's Auxiliary of the Congregational Union of NSW around 1932.  It's actually quite an amusing read, but also full of recipes that I am dying to try out (like Melon and Passion Fruit Jam, Queen Pudding and Bombay Toast), really helpful tips on preserve and jam-making, and some other things I am less willing to try myself, like a "Cure for Bilious Attack" involving lemon juice, bicarbonate soda and hot water. I also feel for the poor soul afflicted with "quinsy" who was supposed to have a vinegar-soaked bread poultice wrapped around their neck with oilcloth.  Fun times.

But amongst the merely amusing and intriguing recipes were a few I am actually very keen to try.  With my Sunday afternoon stretching out ahead of me, I decided to experiment with a fairly straight-forward biscuit recipe (cookies, for our American friends) called "Spinster's Buttons".  After some speculation about the name we came down to two options:

a) Spinster's Buttons are a simply recipe for unpracticed/unmarried cooks to make on a reduced budget, or
b) these biscuits were so good they could effectively remove a spinster's buttons with a single taste.

God knows what explanations we can come up with for "Stuffed Monkeys"...

 I have tweaked the recipe a bit because I think that, without some additional flavourings like vanilla extract and cinnamon, Spinster's Buttons would have been a tad bland... but that's just my opinion.

Spinster's Buttons


Ingredients
-  4 ounces self-raising flour
-  2 ounces butter
-  2 ounces white sugar
-  1 egg
-  1 teaspoon vanilla extract
-  4 tablespoons caster sugar
-  4 tablespoons raw caster sugar
-  1 teaspoon cinnamon

First off, pre-heat your oven to 215 degrees (fan-forced, 220 degrees if you have a normal oven).  Line your biscuit tins with baking paper if you want to minimise clean up (and who doesn't?!).  Otherwise, grease up your biscuit tins.

Now in a large mixing bowl pop in 4 ounces of self-raising flour - I didn't bother to sift it, as the recipe didn't specify, but feel free and sift if you are so inclined.   Either rub the butter into the flour using your forefinger and thumb, or find yourself a pastry cutter and cut it in.  I have a picture of one I bought at a secondhand store about ten years ago, and it's the bomb.  Buy one.  Steal one.  Find one - it makes everything from pastry to crumble a cinch.  But I digress, rub or cut your butter into your flour.


In a smaller bowl beat your white sugar and vanilla extract into your egg - I used a whisk which gave it a lot of air.  By the time I was done it was foamy and creamy.


Pop this into your flour-butter mix and stir with a wooden spoon until it's all combined.  Don't stir too much though, as I have a feeling these light biscuits could become quite hard pretty quickly.

Meanwhile, set up a shallow bowl nearby and combine your caster sugars and cinnamon.  You will be rolling the biscuits in this before baking them, so it's good to have something like a pie dish which is nice a wide and shallow.  You can ditch the raw caster sugar if you like, but I had images of cinnamon sugar donuts in mind when I mixed this up and I thought the golden colour looked just like my childhood memories of fresh cinnamon donuts.

Now, back to the Spinster's Buttons.  Take walnut-sized amounts out of the bowl and rub between your two hands to make them into balls.  Then roll the balls in your sugar-cinnamon mix until they look like lovely little marzipan potatoes.


Line them up on your prepared baking trays and then squish them with a fork to make sweet little stripes across the top.


Easy peesy, into the oven they go for about 10 minutes or until golden on top.  Don't leave them in too long, you want them to be moist inside and they will harden when they cool.  So there you have it, Spinster's Buttons.  Call me crazy, but those spinsters have some mighty fine buttons - excellent with a cup of coffee too.  Enjoy!


Friday, January 7, 2011

Plum-infused vodka


As frequently referred to on Four Figs & a Duck, the bounty of the Weekend of the Plum seems to be truly never-ending.  Exhibit D: plum-infused vodka.

Once Mr J got over the first shock that we weren't going to be beaten by other foragers to all those lovely free plums weighing down trees in our area (can you believe, we seemed to be the only ones picking them other than a lovely older gentleman we think goes to the local Greek Orthodox Church), we got busy picking what we could and making use of the fruit before we became heartily sick of plums.  One of the uses I chose to put my excess bounty to was to infuse some windfall vodka a kind soul brought to my Halloween Party last year with the last of the plums.

This is a seriously easy way to make some delicious fruit liquor without having to go to all the effort of making wine mash, throwing in yeast and then distilling.  Much, much easier ... and look how pretty it is!  The pink of the plums really does diffuse through the vodka and give a rose-petal tint that is hard to beat.


It has a surprisingly delicate and drinkable taste - something to pour over ice and sip on a hot, summer afternoon.  And the colour!  A light rose colour that is so incredibly pretty.  I had to restrain myself from throwing in about a thousand photos of the vodka, the light was so perfect.  And then I started drinking it... yum.  It's ever so slightly sweet, which smoothes out the hint of a somewhat cheapish vodka, but it's not too cloying.  You can really taste the gentle waft of plum in there too.  I think there may be some experimentation with cocktails ahead, but for now, here are a few more photos and then the "how to" guide.  Cheers!


Plum-infused vodka

First, pick and wash your plums!  The quantity you want really depends on the size of the jar you are going to use, but a rough guide is to use enough plums to fill up the jar about halfway.  The more you pop in, the stronger the plum flavour will be.

Now pop about a half a cup of sugar into the bottom of the jar for every two cups of plums you use.  I used about 1 cup all up.  Caster sugar is better, but white sugar should be fine - it just might take a bit longer to dissolve.  I am curious as to how this would taste with some raw caster sugar, or some brown sugar.  Next year, perhaps!


Add your plums and then pour in the vodka.  It took just shy of a full bottle to top up my jar, but really not as much as I had expected.  I guess the plums displaced a lot of vodka, so the jar looks deceptively full.  Now, use a long-handled spoon to stir and help the sugar dissolve.  Don't worry if it doesn't all melt into the vodka, you are about to leave it alone in a dark pantry for a month - it will dissolve on its own in that time!


Don't forget to check in on it every so often and stir or shake (my jar wasn't too water-tight, so shaking was definitely out).  After about a month, open it up and have a taste-test.  If you like it, decant it into a bottle.  I'm not exactly sure what I am going to do with all those lovely vodka-soaked plums, but I'm sure I will think of something!

I the meantime, I intend to drink the vodka poured over ice into small tumblers.  You could also use it in cocktails or, personally my favourite idea, turn it into a plum granita or use it in a trifle or mascarpone, which is what I do with the cherry brandy I make in precisely the same way every Christmas.  But that is a topic for another post...

Now, back to my plum vodka on ice.  Enjoy!

Boy-blog: Plum Wine, Part II


You may remember a few weeks ago, during the Weekend of the Plum, Mr J and his mates got together to put the plum bounty to good use... making booze.   Just as a reminder, this is what the plum wine "mash" looked like when we last saw it.

Previously, on Boy-Blog...


Well, the boys have finally broached the keg and tasted the first batch of foraged-plum wine.  Here's some pics...


On further inspection, the plum wine turned out to be a bit sub-par - quote "plummy jammy badness".  So, as a "back up plan", the boys rigged up a homemade still using a pressure cooker and some basic knowledge of chemistry (I would suggest, very basic), thus producing an excellent plum liquor I think tastes a little like a mildly fruity vodka.  It's actually pretty lovely, and my Mum has asked for some, should they ever get around to repeating the plum wine liquor thing.

The only downside - for an awful lot of fruit, they didn't get a whole lot of plum liquor at the end.  Nonetheless, all the boys all left happy from their day of male bonding, content in the knowledge that they had produced and consumed free plum booze.  Did I mention the plums were free?  Satisfying, no?


By comparison, my plum-infused vodka was far simpler to make and has turned out beautifully, with a glorious plum-burgundy tinge to it that is just beautiful.  But, as Mr J has pointed out, where is the fun in easy?!


PS Check out the plum-infused vodka in my next post!

Organising my pantry...and other exciting adventures

There comes a time in every (housebound and quarantined) woman's life when she realises she needs to organise her pantry.  As I sat in my house over the New Year's period, contagious and bored, I realised my time had come.  My little seed pantry, gifted to me by my mum on my return to Australia (having left my enviable Indonesian pantry behind... I really miss my dried morels, thanks Customs sniffer dogs), had seemingly tripled in size and now clung precariously to the shelves like some weirdly tasty fungus.  Unfortunately this had led to such unfortunate occasions as "Jeffie forgets she has three other packets of plain flour and pots of baking powder and buys another lot, only to discover she has actually run out of self-raising flour".  Special times.  So, as you might have gathered, it was now time to get my pantry under control.

The first thing I did, other than take a "before" photo of the mess (sorry guys, no before shot), was to consult the experts.  Apartment Therapy had some really great ideas for New Year's clean ups (http://www.apartmenttherapy.com), and this picture (http://www.apartmenttherapy.com/sf/5-steps-toward-a-zerowaste-home-sunset-135711) particularly inspired me to tackle the mess I had carefully hidden away...


The other major inspiration was Martha Stewart... I know it's unrealistic to hold myself to the Martha Gold Standard, but gees, I really wanted a pantry as organised as this one at (http://www.marthastewart.com/goodthings/pretty-plastic-bag-organizer?&backto=true&backtourl=/photogallery/25-kitchen-organizers#slide_1)


It's just. so. freaking. PRETTY!

After a couple of hours work I can't say that everything in my kitchen pantry now coordinates, but it has become a haven of order and, bygod, cleanliness.  I had no idea so much stuff had leaked, spilled and was otherwise growing strange mould hidden in there.  Truly, horrifying.  But no more!  It has been banished by order and stackable stuff.


Simple stuff helped to get everything straightened out like putting all the oils together with all the vinegars rather than having them scattered around with the spices and the sauces.  So, here are my three simple tips for doing this for yourself.

Create additional shelves-within-selves ... otherwise known as "levelling-up"

Using levels to prop stuff up so I could fit more spices etc in the space (I bought these metal ones from Ikea) proved to be essential:


Clear jars and air-tight containers (plus some labelling)

Eliminating endless loose and open packages (often multiples of the same thing) of stuff like flour by putting them into clear, labelled containers helps organise things quickly, and I'm less likely to keep buying more flour because I have a good idea of just how much I have left.   We bought these mason jars for $2 at the Super Supabarn out near the airport (not so helpful if you don't live in Canberra).

 Doing this also helps lengthen out the life of your pantry-goods, especially if the containers are airtight.  Just remember to label the containers so you know what's in there, and make a note of the date of expiry while you are at it.  I sometimes cut out the labels and pop them inside the jars/containers so I can see the label at the bottom.  I love labelling.  It's an addiction, so I have refrained from buying a label-maker.  It's for the best, really.


I also used a number of larger tupperware-esque containers which were sadly lidless (speaking of which, where on earth do all my lids go?!) to organise little jars of things like honey, stir-fry sauce, BBQ sauce, vegemite etc.  That way they are all in one spot and it's easy to take the whole "tray" out to find something.  Not only that but, if they leak (and oh, do they ever, especially the honey) it's a simple clean-up task too. Thanks, Martha, for this stellar tip.  Oh, and my Mum, who it must be said has been doing this for years.


So that's it.  My three easy tips for an organised pantry.  We'll just have to see if the organisation remains in place in another year!


Saturday, January 1, 2011

Farewell Vanilla Cupcakes with Glace Icing

Just a quick post.  I whipped these up late yesterday afternoon for Mr J's boy's night out as a farewell gift for Brown who's off overseas again.  I picked aqua for the icing colour - thought it was slightly more manly than pink (or "man salmon" as I heard someone calling it the other day in reference to his pink business shirt).  Thought I'd throw in some pretty, pretty photos for you to have a look at just because they looked so good.


Cinnamon and Plum Swirl Ice Cream for Hot Days


After a mild, wet summer suddenly the hot weather has hit with a vengeance...and I am house bound!  Luckily our apartment is unusually cool because we don't have air conditioning, but even still it is damn hot at the moment.  So, as I listened to the cicadas I started to think about what to do with my day.  I've been thinking about all the paraphernalia in my kitchen which I have never, ever used, and had decided to start a series of projects that forced me to use those items.  The following items are just a few of the weird and wonderful gadgets and gizmos in my kitchen I need to learn how to use:


And that's when I noticed it.  Through the heat haze it appeared to be a mirage of icy deliciousness, evoking the frozen tundras of the Siberian plains... I was a little heat addled, so it seemed.  But there it was, my ice cream maker.  Now I should note in the interests of honesty that I have used an ice cream maker before.  When I lived with my cook-extraordinaire mother I used her ice cream maker (a very similar design) to make a vanilla, honey and lavender ice-cream for Christmas one year.  The current ice cream maker in my cupboard, however, has never been used.  My Grandma bought it for me shortly before my departure to Indonesia and it has sat gathering dust (and mould in the Jakarta humidity) ever since.  Until yesterday!

"Snowy" is a very basic ice-cream maker (read: churner) that you can pick up for about $30-40 in the post-Christmas sales.  It's very simple, you just grab the bowl and pop it in your freezer for about 24 hours before you want to use the machine.  You can leave it in a plastic bag if you want it to chill-up faster, but I have found results a little less than stellar if you scrimp on the time the bowl spends in the freezer.


Now, my friend the Red Avenger has been experimenting with her ice cream maker for a number of months now and churning out the most amazing and unusual flavours.  Sweet-potato ice cream, frozen yoghurt with lemon curd ripple, etc etc - all very David Lebovitz  (http://www.davidlebovitz.com), the man who invented caramelised bacon ice cream, burnt bread ice cream and, the one I've been dying to try, Guinness and chocolate ice cream.  So, with David and the Red Avenger as my ice cream idols, I decided to depart from the basic vanilla bean ice cream mix and try something a (very) little bit more adventurous.  I'm not quite at the bacon ice cream stage of ice cream making, but I did have a very nice jar of plum jam that hadn't set quite as well as the others and which thought would make a lovely "ripple" in a basic recipe.    Here's how I did it.

Cinnamon and Plum Swirl Ice Cream


Ingredients:


-  1 vanilla bean
-  1 cinnamon stick (2 if you want a really cinnamon-y flavour)
-  1 & 2/3 cup milk
-  600ml thickened cream (that's right, this baby is not diet-oriented)
-  8 egg yolks
-  3/4 cup raw caster sugar (normal caster sugar is fine, but this gives a richer flavour)
-  5 tablespoons of failed plum jam (just a thickened fruit syrup, you can replace with store bought raspberry coulis or similar)


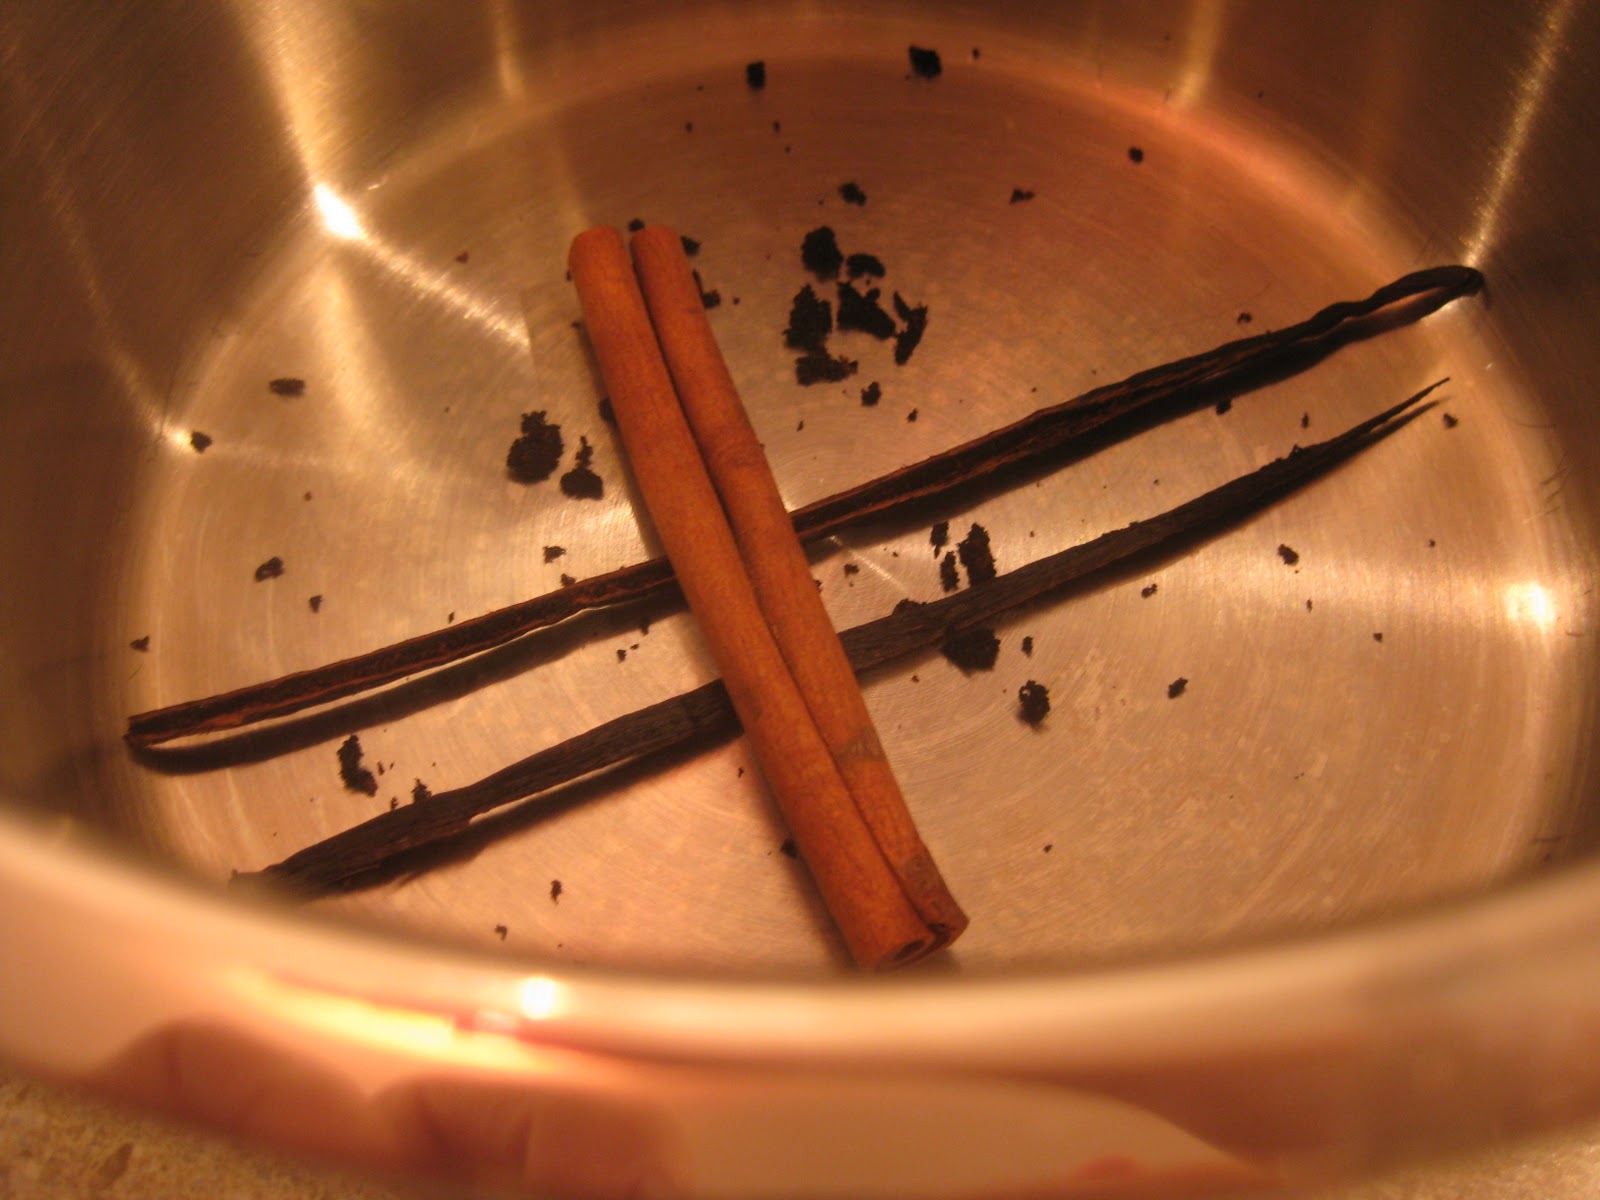
I started by splitting the vanilla bean and scraping out the teeny-tiny seeds inside.  I then popped the cinnamon stick, the vanilla bean pods and all the seeds into a saucepan.  I poured the milk and the cream on top and popped it on a medium-high heat, stirring every so often, until it hit boiling point.  It takes a while, so it's time to move onto stage two, while that's heating up on the hob.


Meanwhile, take the vast majority of the contents of one carton of eggs and separate the yolks from the whites.  If you were a thrifty cook, you may like to use the egg whites in a meringue or some sort of pavlova.  I, however, am not a terribly thrifty cook and also, it turns out, not spectacularly good at separating eggs, so there were a few dribs and drabs of yolk in my whites, so out to the bin they went. Such a waste. 


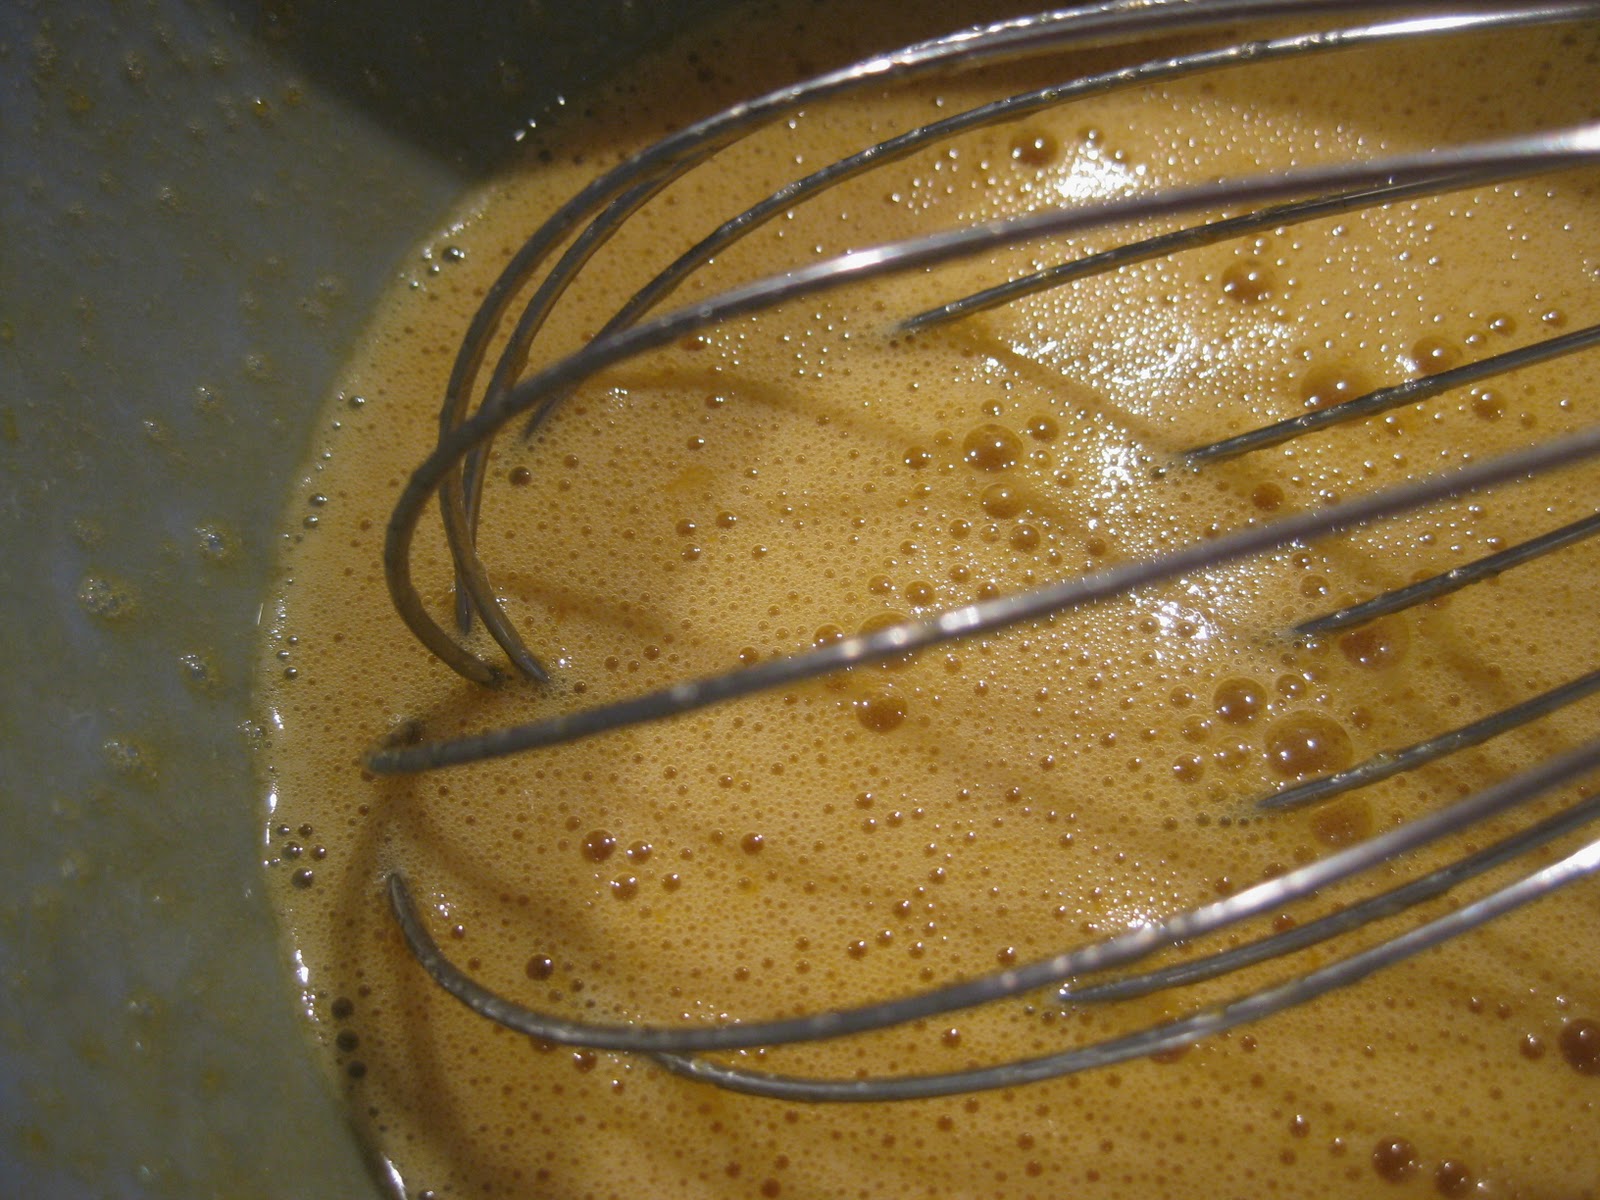
Take your eight egg yolks and whisk them in a bowl with the caster sugar.  I used raw caster sugar which gives everything a slightly richer, more caramel taste, but plain caster sugar is just as yummy.  The raw caster sugar gives it a brown look when you whisk, but it still turned out just fine...


Now that your milk-cream-cinnamon-and-vanilla mixture is just hitting boiling point, knock the heat back to low and whisk in your egg-and-caster-sugar mix, a bit at a time.  Stir over a low heat until it thickens up, but make sure the heat is not too high, or your egg will cook!  You can test the "thickness" on the back of your mixing spoon.  The picture below shows you what it should look like before you take it off the hob.


Time to pop the mixture through a sieve to fish out all the vanilla bean pods, cinnamon and other gluggy-bits which inevitably pop up.


Take your time and use a spoon to push through as much custard base as you can.  Eventually you will end up with a sweet, vanilla-flecked custard base.  Cover the bowl with cling wrap and put it straight into the fridge.   Most recipes will tell you it needs to stay in there for an hour, but really the best ice cream results from an absolutely chilled base mix, so my advice is to leave it in the fridge overnight.  When you come back and it's as cold as your milk, then you can proceed to the next step.  If you scrimp, the results may not be as fabulous.  And we do so love fabulous.


Now, free your ice cream maker's base from its spell in the freezer, pour in your chilled custard base and churn according to the ice cream maker's instructions.  In my case, you pop the lid on and press the "on" button.


 My machine does a little jig when it's ready (no really, the churn bounces back and forth like it's doing the twist), but this is what it looks like when it's time for the base to go into the freezer.


The mixture is soft and gloopy, but is starting to look (and taste) like ice cream.  So grab yourself a metal loaf baking tin (or similar).  If you are happy with having all the ice cream one single flavour, then you can pop it all in the tin, cover it in foil and put it straight into the freezer to harden the f-up.  But if, like me, you want to add in a little something extra just scoop half the ice cream mix into the bottom of the tin before you add in the fruit ripple.


If you don't happen to have a fruit jelly available, like I had from my failed batch of plum jam, you could either buy a commercially-made fruit sauce or coulis, or make up a thick fruit sugar-syrup yourself.  


Now, drizzle the fruit jelly over the top of the first layer of ice cream mix.


Next, add a top layer of ice cream mix over the top, cover the loaf tin with foil and pop it straight into the freezer.   It stays there until it's firm, about 8 hours in my freezer, but things could be different in yours, so just check on it every so often and have a taste.  I know I did.


About 5-12 hours later, depending on the strength of your freezer, you have yourself some mighty fine ice cream.  So turn on the fan, get on your shorts and scoop yourself a bowl-full!