Saturday, August 20, 2011
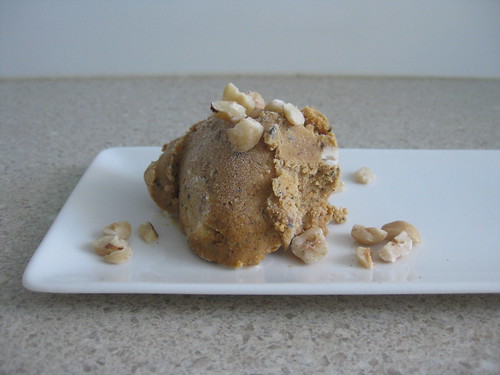
Pumpkin and Hazelnut Ice Cream
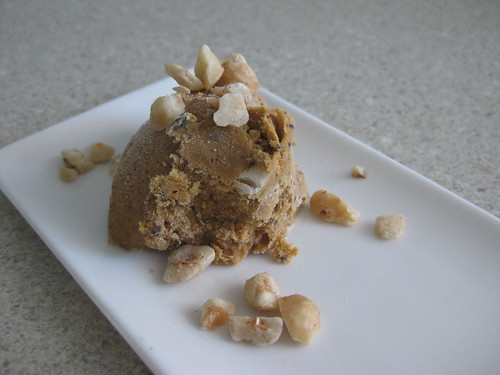
About a month ago I went on a holiday to Bali with four of the best friends a girl could have...during which we discovered a little hole-in-the-wall gelateria in Ubud that, amongst an array of other flavours, made an incredible pumpkin and hazelnut gelato. It rocked my world. As a result, the Red Avenger and I were determined to recreate the experience and come up with our own version of the sweet pumpkin and hazelnut ice cream.
I should probably first introduce the Red Avenger - a baker and ice cream making extraordinaire who, when I mentioned my desire to recreate my Bali gelato experience, immediately noted that we'd have to bake the pumpkin to enhance it's sweetness and produce some kind of hazelnut milk using the same technique used for making coconut milk. Compare this to most reactions to my pumpkin ice cream-making scheme, which varied from "pumpkin in an ice cream - yuck!" to a wrinkling of the nose accompanied by a derogatory comment about American pumpkin pie. You can see why I was very happy indeed to have a partner in crime who was as experienced in ice cream making (and as enthusiastic about the project) as the Red Avenger.
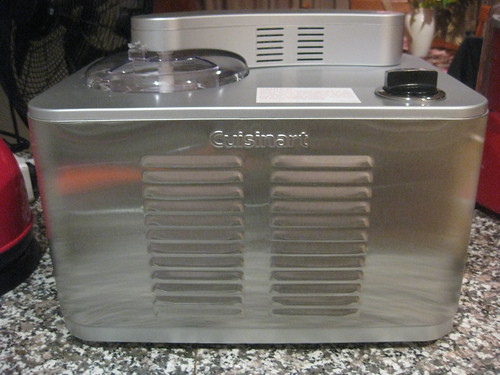
It also so happened that I was (relatively) newly in possession of a shiny Cuisinart benchtop ice cream maker - this is the kind of machine that has it's own refridgeration unit in-built so (unlike the ever loyal Mr Snowy who has previously featured in my blog posts) you don't need to pop your base in the freezer. Basically, you can be slightly less organised and still churn out some pretty delicious ice cream in a few hours. The Cooking Fairy Godmother (my mother) gave me this wonderful beastie when I was suffering through a break-up... you've got to love a woman whose approach is "forget him, make ice cream"! And she was so right.
Now, just because this baby has it's own freezing system doesn't mean you don't have to be a little organised about making ice cream. The key to making a good ice cream is to ensure all the liquids are as cold as you can get them before they go into the machine to be churned. This requires at least three hours in the fridge beforehand. Personally, I think this makes ice cream perfect for a dinner party - you can prepare the base the night or morning before your guests arrive and pop it in the fridge. Then churn in the afternoon and you're ready to go with a dessert that needs no last-minute phaffing and invariably impresses anyone you serve it to.
Pumpkin and Hazelnut Ice Cream
Ingredients
- 900 grams pumpkin (I used Queensland Blue, but Butternut would also be good)
- 1/3 cup dark brown sugar
- 3 tablespoons vegetable oil (I used macadamia nut oil)
- 1/4 cup roasted hazelnuts
- 200 grams raw hazelnuts
- 600 ml whipping cream
- pinch of sea salt
- 1/2 teaspoon ground nutmeg
- 1/2 teaspoon lemon zest
- 1/2 teaspoon ground cinnamon
If you're using an ice cream maker with a base you need to freeze, don't forget to pop it in the freezer the night before you want to churn the ice cream. The longer it's in the freezer, the better the result!
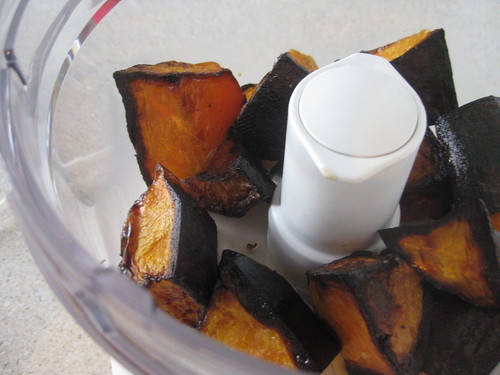
Preheat your oven to 210 degrees Celcius. Chop your pumpkin into large chunks, coat in vegetable oil and roast until soft but not too crisp on the outside (mine blackened a little too much, not that it mattered in the end, but you should keep an eye on them).
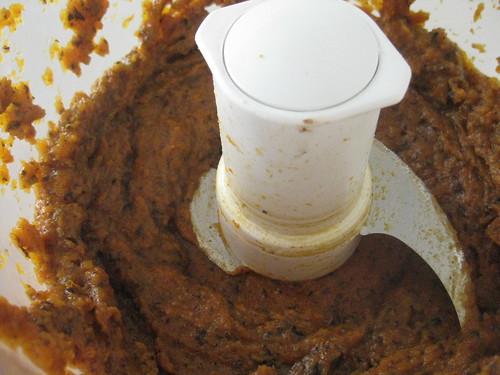
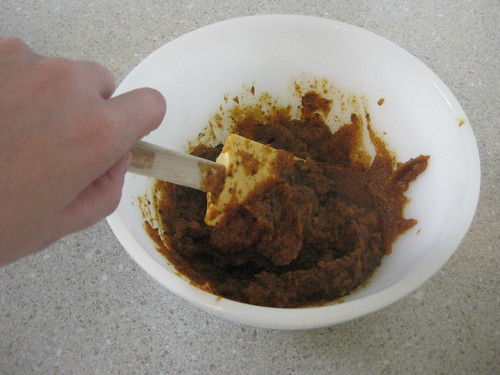
Leave it to a cool a little but, while still warm, puree the pumpkin in a food processor until smooth. Place into a large bowl (you'll be mixing the cream into the puree in this bowl later) and add the dark brown sugar, stirring until dissolved. Cover in cling wrap and pop in the fridge.
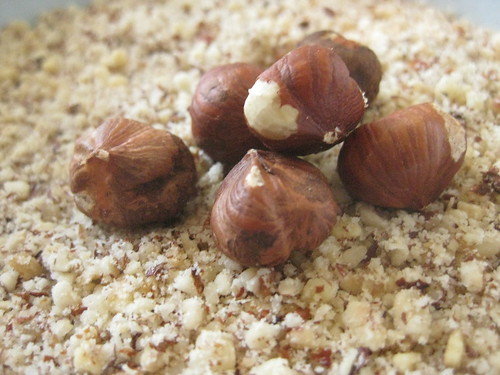
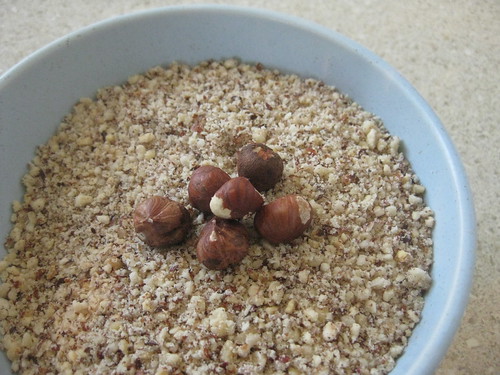
Next, clean out your food processor because we are about to use it again. Pulverise your raw hazelnuts until they become a hazelnut meal, rather like the almond meal you'd use in friands. Don't cheat and buy pre-ground hazelnut meal - you need this to be done fresh so you get the best flavour transferred into your cream. I recommend the nut shop at the Fyshwick Markets for nice fresh hazelnuts, both roasted and raw.
This is also a good time to chop up you roasted hazelnuts, which should be reduced to the size of choc-chips in the food processor (not pulverised like the raw hazelnuts). Set these aside for later use during the churning process.
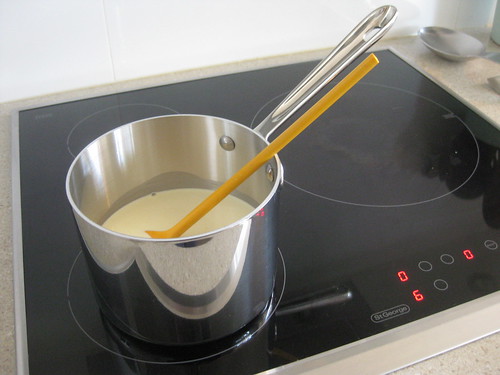
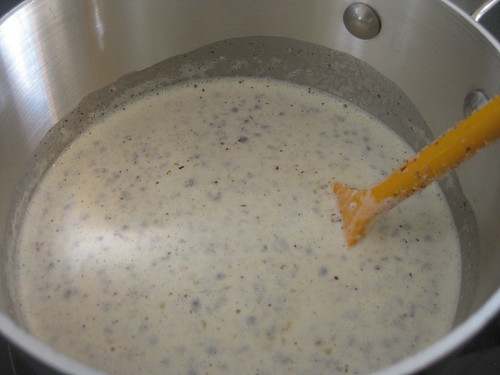
Now, in a medium-sized saucepan on a medium-low heat, bring your cream very close to a boil. When it's starting to bubble slightly at the sides, add in your freshly ground hazelnut meal. Turn off the heat but stir vigourously while the cream is warm. Transfer the cream-and-hazelnut mix to a heat-proof bowl and leave it to cool on the bench a little, then cover the bowl with cling wrap and pop it in the fridge to chill for at least three hours (or overnight if you are being particularly organised).
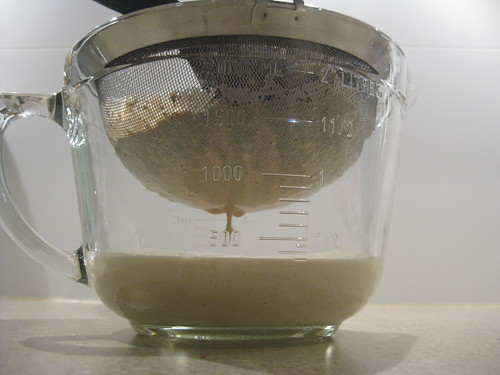
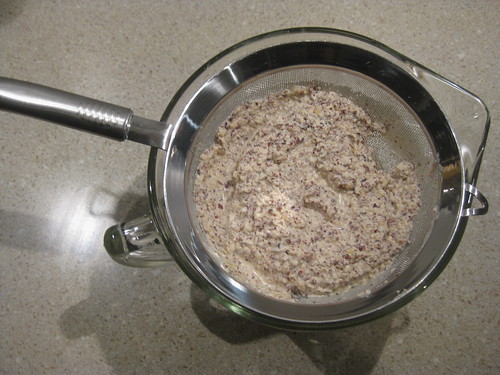
When the cream is chilled to the touch, remove it from the fridge and strain through a mesh sieve to remove the hazelnut meal. You should use the back of a large spoon to squeeze out as much of the cream from the meal as you can. From the 600ml of cream I originally used, I only managed to squeeze around 400ml of cream from the meal, which I think must absorb the liquid. The cream becomes a fragrant, nutty liquid which gives the hazelnut flavour to the pumpkin puree, smoothing out its sweetness and adding an undertone of flavour to the ice cream.
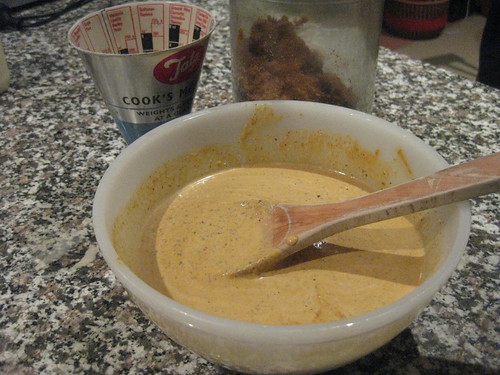
Next, in that big bowl with your chilled pumpkin, mix in your cream until combined. Add the zest, nutmeg, cinnamon, zest and sea salt. Don't forget to taste it - pumpkin can vary in sweetness and flavour so you should adjust the amount of sugar and spices to suit your own tastes. Just remember (as advised by the Red Avenger) when the ice cream is chilled the human tongue doesn't taste the sugar as well, so you may need to add more sugar to the base than you would ordinarily like, so that it tastes sweet enough when frozen.
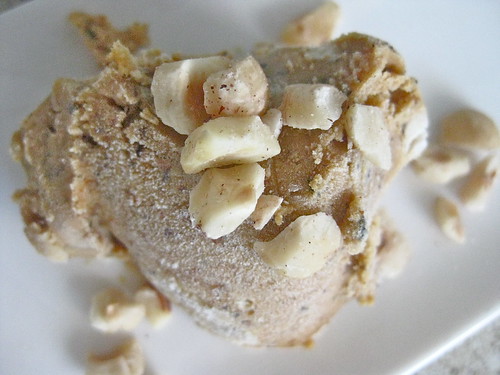
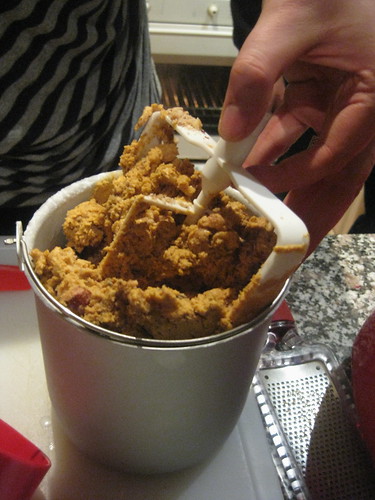
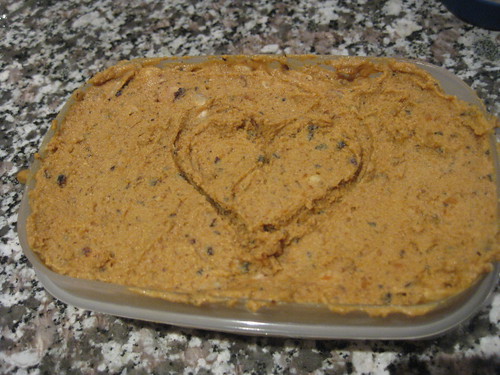
Now, fire up your ice cream maker, add this liquid and churn, churn, churn! When it's starting to look thicker, but not quite fully frozen, add in the chopped roasted hazelnuts. When the machine says it's done, scoop it into a plastic container and freeze for a final 30 minutes until fully frozen.
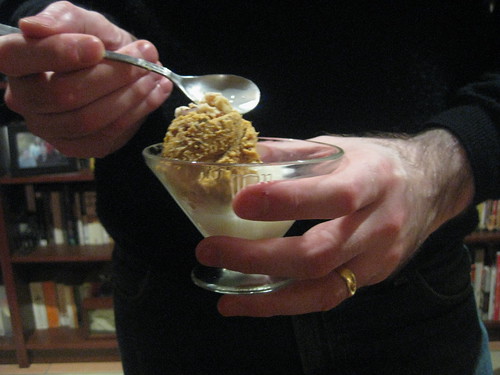
I highly recommend removing the ice cream from the freezer 3-5 minutes before you need to serve up in order to give it time to soften just enough to be scoopable.
I know that for Australians who always think of pumpkin as savoury, that a sweet pumpkin ice cream seems a little odd, but this turned out beautifully and I highly recommend being a little adventurous and giving this recipe a try.
Subscribe to:
Post Comments (Atom)
I love the sound of this. I've tried making hazelnut ice cream before and it was OK but using pumpkin is a wonderful idea. I'm deeply envious of your serious ice cream maker, by the way.
ReplyDelete