Saturday, August 27, 2011
Penny's Lemon and Coconut Tart
Today's post started with an invitation to dinner at a friend's house. I had volunteered to make dessert and thought it was time to dust off the tart cases I had purchased about ten years ago at a closing down sale and had never used.
My friend Penny makes a mean lemon and coconut tart, which she very kindly brought along to dinner at my place not long ago. She even swore it was super-duper easy! Suddenly I thought... lemon tart + unused tart cases = a moment of genius. The plan also had the benefit of using shredded coconut, which is officially my new favourite thing (as you might have guessed from the number of recipes featuring coconut in recent times on Four Figs).
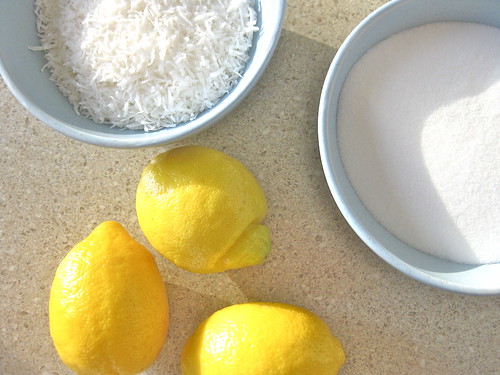
Penny's recipe is of the never-fail kind, something I know I appreciate and thought you might too. It's always great to have a dessert that can be made in a pinch from pantry basics - lemons, flour, butter, sugar, eggs and shredded coconut straight out of the cupboard. And given that this was a non-pay week, it also has the benefit of being quite an economical option. The only thing I had to purchase was plain yoghurt.
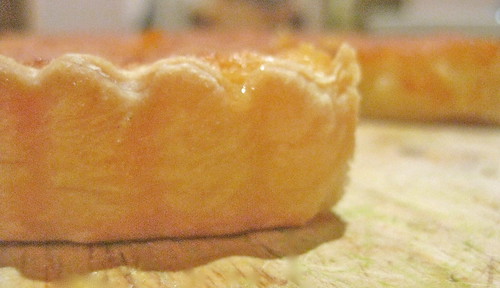
Now, I am not much of a natural pastry maker. As a result, I took a pastry making course at Podfood (now 3 Seeds) a while ago. To be honest, this recipe was my first ever stab at shortcrust pastry since the class I took in November last year. I used the 3 Seeds recipe for sweet shortcrust rather than the one from Penny's recipe largely because I had seen it made, so I thought I might have a better chance of success. I am not sure if this was a stellar example of pastry-making skills, but it didn't turn out to be completely inedible and the only way is up from here. The cases shrunk a little at the sides, which meant the filling dripped over the edge a little bit in places. Not that this made it any less delicious!
The filling recipe Penny recommended came from the Marie Claire Kitchen Cookbook - and Penny was right, the filling is perfectly stress-free after the (what I regard as) stressful process of making the tart cases. If you're after the super-duper easy version, by all means buy the pre-made pastry cases in the freezer section of your supermarket and blind bake away. I know I had one waiting just in case the homemade shortcrust pastry completely tanked.
Lemon and Coconut Tart
Ingredients
Sweet Shortcrust Pastry Cases (care of 3 Seeds)
- 2 cups plain flour
- 1/4 cup icing sugar
- 180 grams unsalted butter, chilled and cubed
- approximately 3-5 tablespoons chilled water
Lemon and Coconut Filling (care of Penny and the Marie-Claire Kitchen Cookbook)
- 125 grams unsalted butter, softened
- 350 grams caster sugar
- 4 eggs
- 150 grams plain yoghurt
- 3 tablespoons lemon juice, fresh (I got this from one lemon - but juiciness varies!)
- 2 tablespoons lemon zest (the zest of two medium-sized lemons)
- 1 teaspoon vanilla bean paste (or 1 teaspoon vanilla extract)
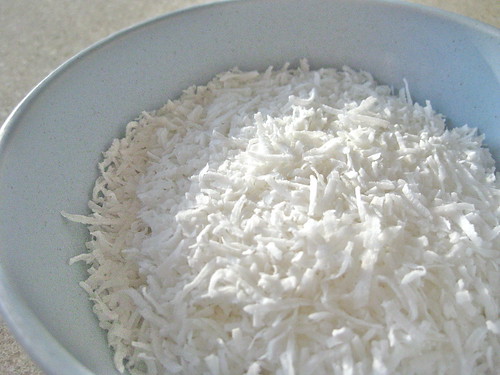
- 1 cup shredded coconut (you can also use the same amount of desiccated coconut)
Take out your 125 grams of unsalted butter for the filling and allow to soften on the bench. This is also a good time to remove your 4 eggs from the fridge so they can come to room temperature. Now, preheat your oven to 180 degrees Celcius and grease your tart tins (either two smaller tart cases or one large 25 cm tart tin). I used tins that have a removable base, which really helped with getting the tarts out of their cases later on.
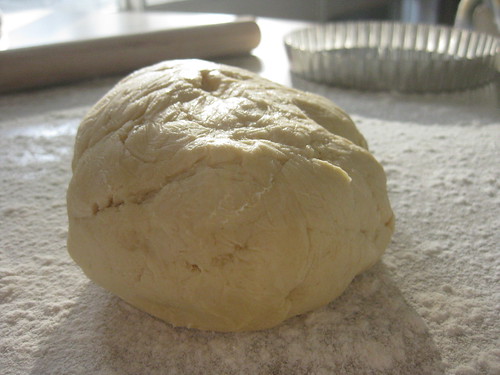
Dust off your food processor and set it up on the bench - the shortcrust it fairly quick when you use the processor. The trick is to make sure the butter and water you are going to use are chilled in the fridge before you start. Now pop your flour, icing sugar and butter in the processor and process until it looks a lot like coarse breadcrumbs. While it's processing drizzle in the chilled water a tablespoon at a time until the pastry forms a ball in the processor. Stop immediately once this happens. Cover the ball in cling film and put it into the fridge to chill for at least 30 minutes.
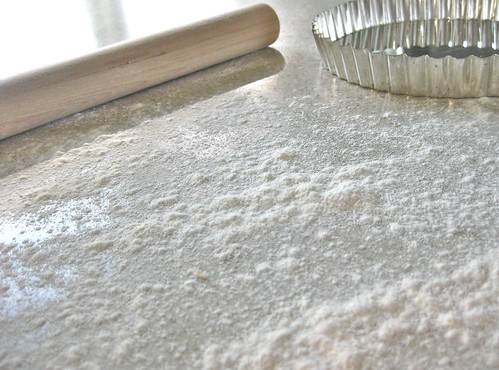
Remove the pastry from the fridge and roll it out on a floured bench. You need to put quite a bit of flour on the bench (which should be cleaned beforehand) and on your rolling pin so the pastry doesn't stick to either the bench or the pin. Roll it out as thinly as possible, I managed about 3 millimetres.
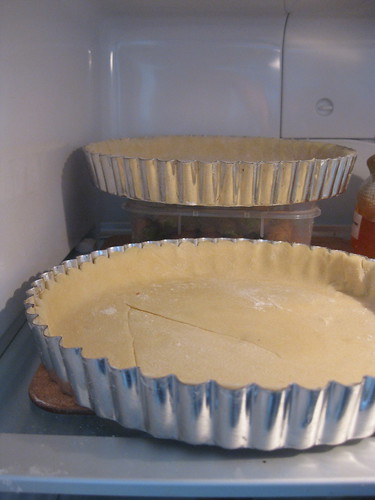
Next, drape the pastry over the tart case/s and gently press it in until it lines the tin. Cut off the excess and prick the base of the tart case with a fork. Place the tart case/s back in the fridge for 30 minutes, or in the freezer for 15 minutes. This will help the cases hold their shape in the oven, so it's worth the extra time and fuss. Go make yourself a cup of tea or put on a load of washing.
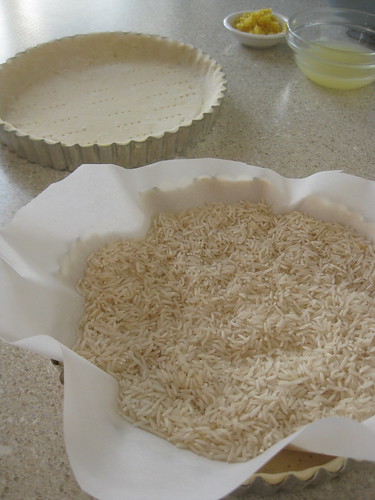
Now, cut some baking paper to into a circle a bit wider than the circumference of the tart case and crush it up as if you were going to ball up a piece of paper to go in the bin. I didn't do this with my cases, but read about this tip afterwards and I can see it would make it much easier. Uncrush the paper and pop the baking paper in the cases then add rice to weight the tart case. Bake in the oven for approximately 15 minutes or until cooked through but not too brown. Remove the cases from the oven and cool on racks. Don't turn off the oven - you'll need it for the next step.
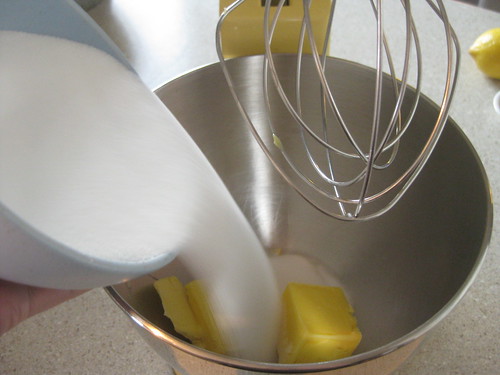
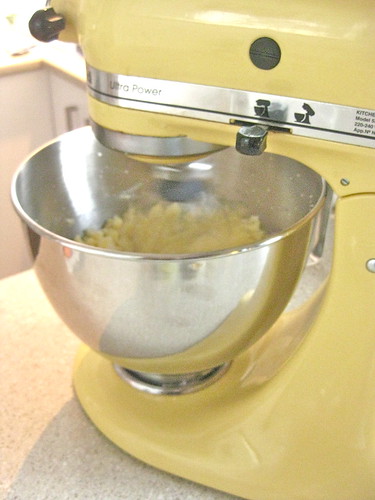
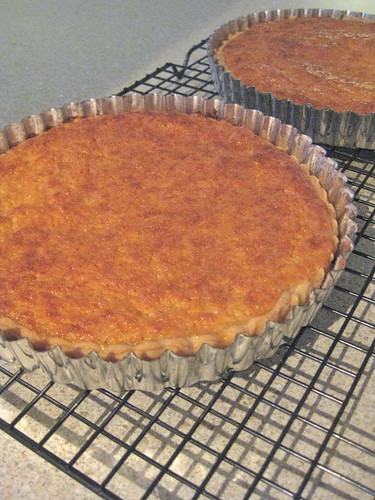
You can make the filling with either a hand beater or a fixed stand mixer like a Kitchenaid. First cream the butter and sugar until its light and aerated. Add the eggs one at a time until combined, then add the yoghurt, lemon juice, zest and vanilla paste. Finally, stir in the coconut and then pour into the cooled pastry cases. These go back into the oven for a further 30 minutes at 180 degrees Celcius. You'll know when they're ready as the filling will brown on top and be firm to the touch. Remove and cool on racks before attempting to remove from their cases. A great tip from the Kitchen cookbook is to stand the cases on an upturned medium-sized bowl and allow the rim of the case to fall away.
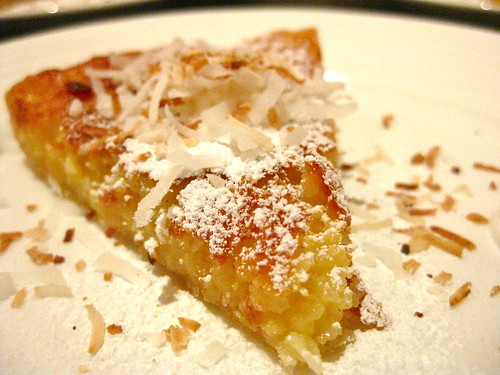
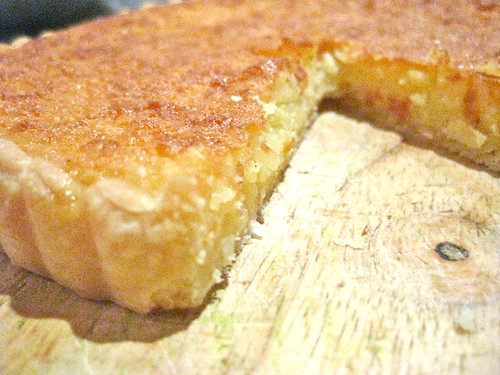
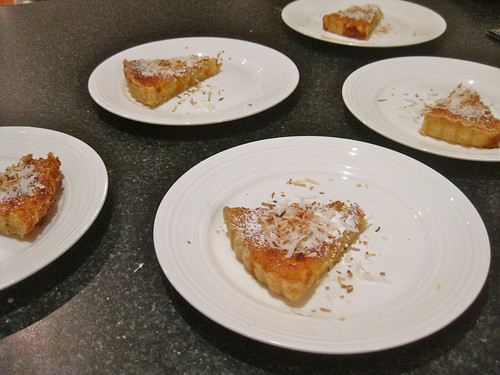
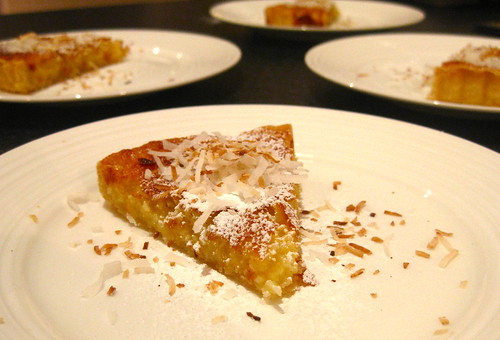
I sliced the tart and served it with a dusting of icing sugar and a sprinkling of toasted unsweetened shredded coconut. The Red Avenger contributed some delicious vanilla cheesecake ice cream to accompany the dessert which complemented the lemon-tart flavours perfectly.
Saturday, August 20, 2011
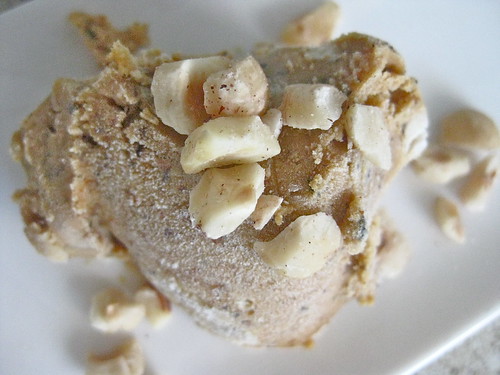
Pumpkin and Hazelnut Ice Cream
About a month ago I went on a holiday to Bali with four of the best friends a girl could have...during which we discovered a little hole-in-the-wall gelateria in Ubud that, amongst an array of other flavours, made an incredible pumpkin and hazelnut gelato. It rocked my world. As a result, the Red Avenger and I were determined to recreate the experience and come up with our own version of the sweet pumpkin and hazelnut ice cream.
I should probably first introduce the Red Avenger - a baker and ice cream making extraordinaire who, when I mentioned my desire to recreate my Bali gelato experience, immediately noted that we'd have to bake the pumpkin to enhance it's sweetness and produce some kind of hazelnut milk using the same technique used for making coconut milk. Compare this to most reactions to my pumpkin ice cream-making scheme, which varied from "pumpkin in an ice cream - yuck!" to a wrinkling of the nose accompanied by a derogatory comment about American pumpkin pie. You can see why I was very happy indeed to have a partner in crime who was as experienced in ice cream making (and as enthusiastic about the project) as the Red Avenger.
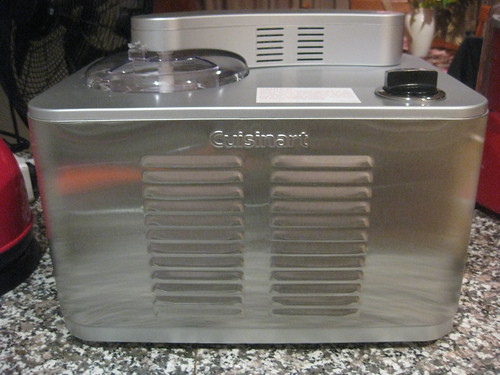
It also so happened that I was (relatively) newly in possession of a shiny Cuisinart benchtop ice cream maker - this is the kind of machine that has it's own refridgeration unit in-built so (unlike the ever loyal Mr Snowy who has previously featured in my blog posts) you don't need to pop your base in the freezer. Basically, you can be slightly less organised and still churn out some pretty delicious ice cream in a few hours. The Cooking Fairy Godmother (my mother) gave me this wonderful beastie when I was suffering through a break-up... you've got to love a woman whose approach is "forget him, make ice cream"! And she was so right.
Now, just because this baby has it's own freezing system doesn't mean you don't have to be a little organised about making ice cream. The key to making a good ice cream is to ensure all the liquids are as cold as you can get them before they go into the machine to be churned. This requires at least three hours in the fridge beforehand. Personally, I think this makes ice cream perfect for a dinner party - you can prepare the base the night or morning before your guests arrive and pop it in the fridge. Then churn in the afternoon and you're ready to go with a dessert that needs no last-minute phaffing and invariably impresses anyone you serve it to.
Pumpkin and Hazelnut Ice Cream
Ingredients
- 900 grams pumpkin (I used Queensland Blue, but Butternut would also be good)
- 1/3 cup dark brown sugar
- 3 tablespoons vegetable oil (I used macadamia nut oil)
- 1/4 cup roasted hazelnuts
- 200 grams raw hazelnuts
- 600 ml whipping cream
- pinch of sea salt
- 1/2 teaspoon ground nutmeg
- 1/2 teaspoon lemon zest
- 1/2 teaspoon ground cinnamon
If you're using an ice cream maker with a base you need to freeze, don't forget to pop it in the freezer the night before you want to churn the ice cream. The longer it's in the freezer, the better the result!
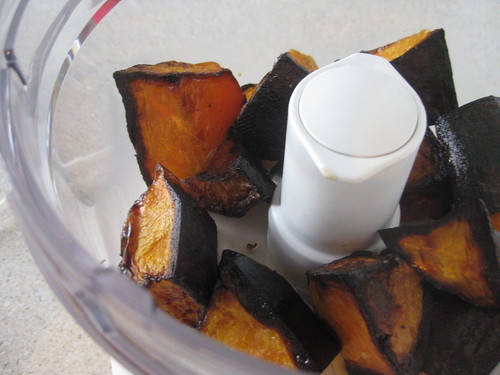
Preheat your oven to 210 degrees Celcius. Chop your pumpkin into large chunks, coat in vegetable oil and roast until soft but not too crisp on the outside (mine blackened a little too much, not that it mattered in the end, but you should keep an eye on them).
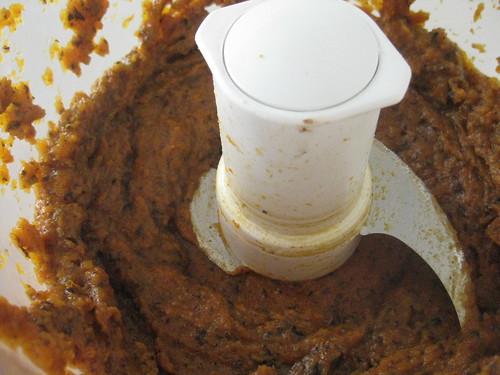
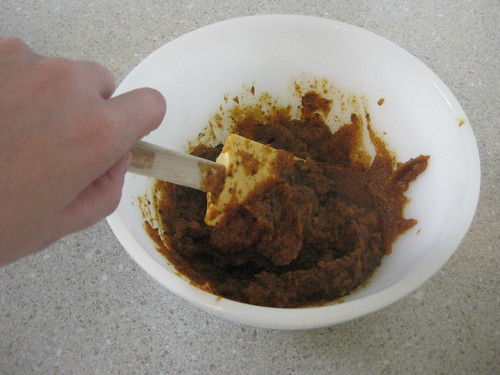
Leave it to a cool a little but, while still warm, puree the pumpkin in a food processor until smooth. Place into a large bowl (you'll be mixing the cream into the puree in this bowl later) and add the dark brown sugar, stirring until dissolved. Cover in cling wrap and pop in the fridge.
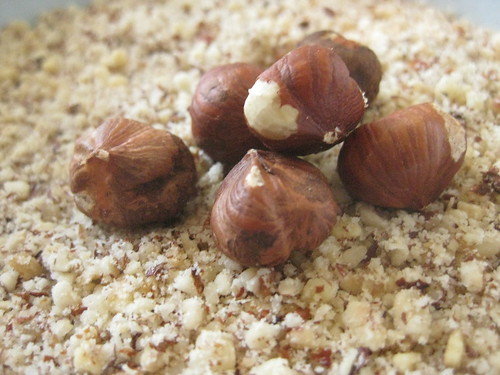
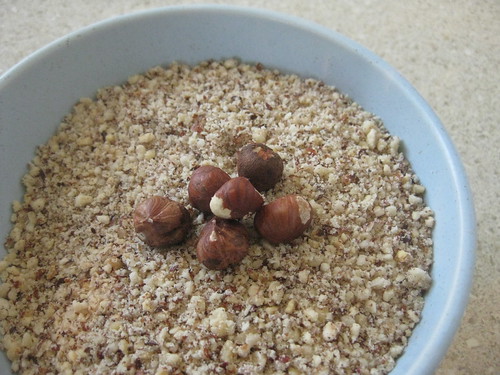
Next, clean out your food processor because we are about to use it again. Pulverise your raw hazelnuts until they become a hazelnut meal, rather like the almond meal you'd use in friands. Don't cheat and buy pre-ground hazelnut meal - you need this to be done fresh so you get the best flavour transferred into your cream. I recommend the nut shop at the Fyshwick Markets for nice fresh hazelnuts, both roasted and raw.
This is also a good time to chop up you roasted hazelnuts, which should be reduced to the size of choc-chips in the food processor (not pulverised like the raw hazelnuts). Set these aside for later use during the churning process.
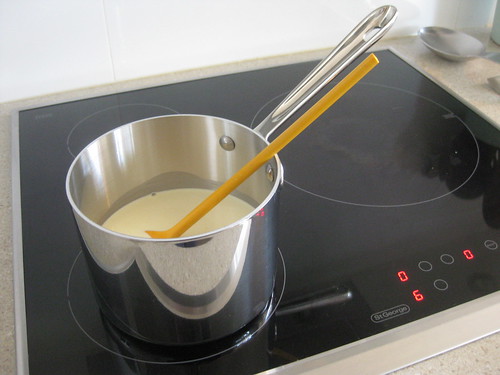
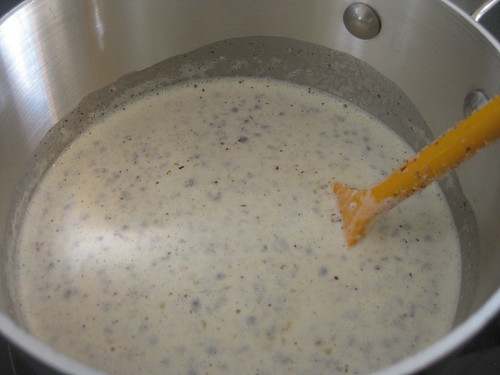
Now, in a medium-sized saucepan on a medium-low heat, bring your cream very close to a boil. When it's starting to bubble slightly at the sides, add in your freshly ground hazelnut meal. Turn off the heat but stir vigourously while the cream is warm. Transfer the cream-and-hazelnut mix to a heat-proof bowl and leave it to cool on the bench a little, then cover the bowl with cling wrap and pop it in the fridge to chill for at least three hours (or overnight if you are being particularly organised).
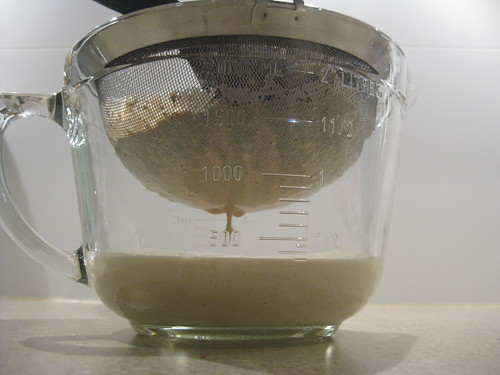
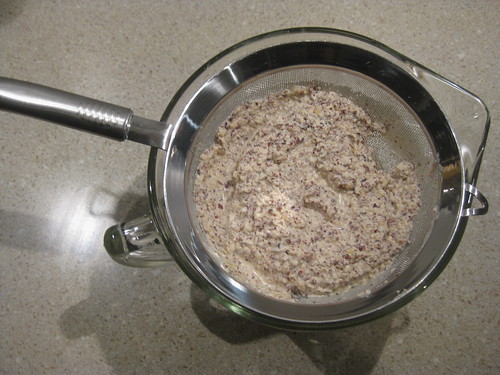
When the cream is chilled to the touch, remove it from the fridge and strain through a mesh sieve to remove the hazelnut meal. You should use the back of a large spoon to squeeze out as much of the cream from the meal as you can. From the 600ml of cream I originally used, I only managed to squeeze around 400ml of cream from the meal, which I think must absorb the liquid. The cream becomes a fragrant, nutty liquid which gives the hazelnut flavour to the pumpkin puree, smoothing out its sweetness and adding an undertone of flavour to the ice cream.
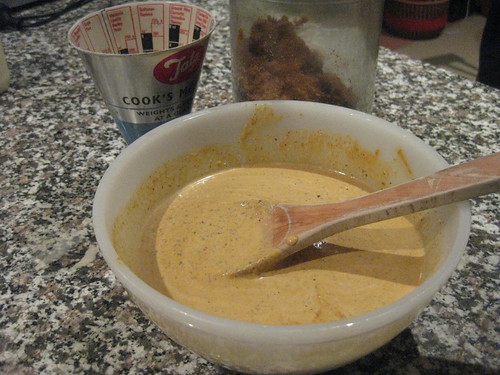
Next, in that big bowl with your chilled pumpkin, mix in your cream until combined. Add the zest, nutmeg, cinnamon, zest and sea salt. Don't forget to taste it - pumpkin can vary in sweetness and flavour so you should adjust the amount of sugar and spices to suit your own tastes. Just remember (as advised by the Red Avenger) when the ice cream is chilled the human tongue doesn't taste the sugar as well, so you may need to add more sugar to the base than you would ordinarily like, so that it tastes sweet enough when frozen.
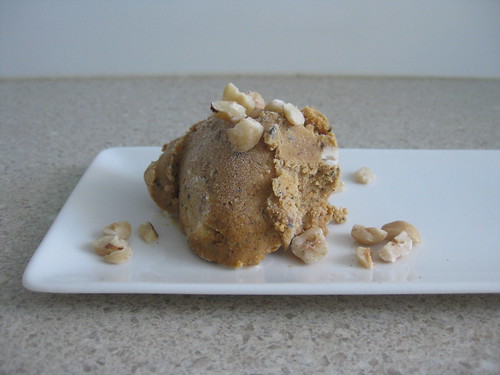
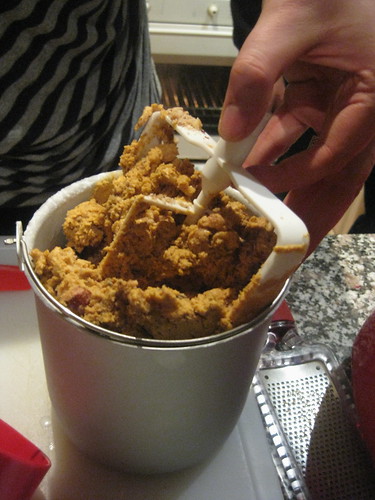
Now, fire up your ice cream maker, add this liquid and churn, churn, churn! When it's starting to look thicker, but not quite fully frozen, add in the chopped roasted hazelnuts. When the machine says it's done, scoop it into a plastic container and freeze for a final 30 minutes until fully frozen.
I highly recommend removing the ice cream from the freezer 3-5 minutes before you need to serve up in order to give it time to soften just enough to be scoopable.
I know that for Australians who always think of pumpkin as savoury, that a sweet pumpkin ice cream seems a little odd, but this turned out beautifully and I highly recommend being a little adventurous and giving this recipe a try.
Saturday, August 13, 2011
Classic Chocolate Mousse
There are some dishes that are classics for a reason. Chocolate mousse is definitely one of them.
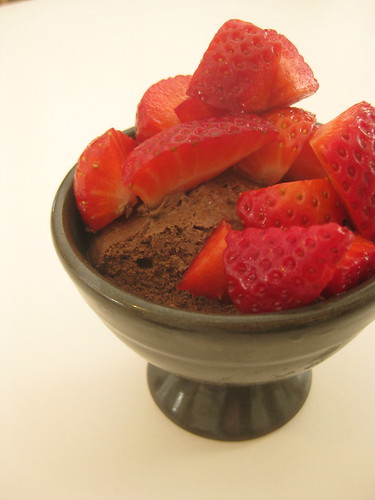
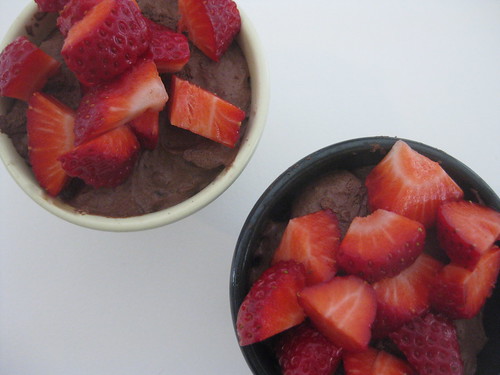
It was my uncle's birthday on the weekend and I offered to make dessert for the family lunch. My instructions were simple - chocolate and rich. My mind immediately turned to the rich chocolate mousses made by a family friend in my childhood. She used Cadbury's Dairy Milk chocolate and would serve them in small brown stoneware bowls with mint chocolate grated over the top. I loved them - I pretty much inhaled the petite bowls of incredibly rich, creamy deliciousness.
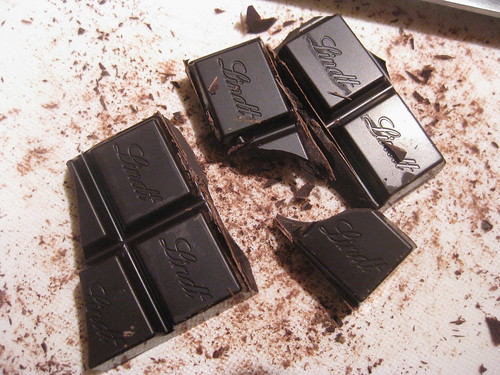
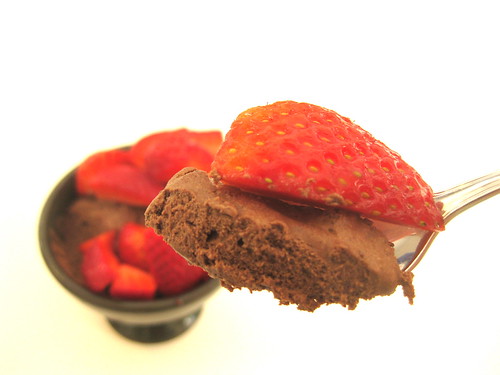
Over the years my tastes have changed a little from Dairy Milk to dark Lindt chocolate - preferably 70 per cent - so I have amended the mousse recipe to suit. I used a classic Australian Women's Weekly recipe (tried, tested and true, thanks ladies) and swapped the cooking chocolate for dark Lindt. In retrospect, I should have added a little more sweetness with a bit of caster sugar in the egg whites, and so I have amended the recipe accordingly below. Personally, I like it without the sugar but with enough sliced strawberries mounded on top to cut through the dark chocolatey bitterness, but if you like your mousse a little sweeter, add in the sugar by all means. I also recommend you remove them from the fridge for about ten minutes before serving so they soften a little and are a delight to scoop with your spoon.
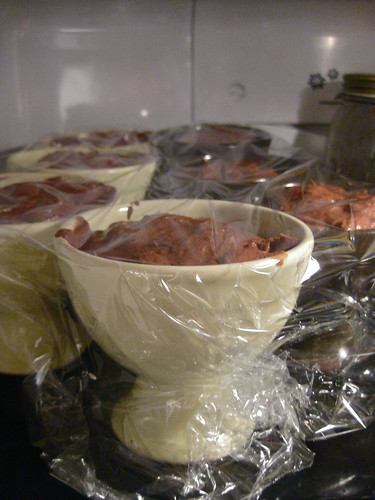
You'll also note that I have found the perfect modern recreation of those brown stoneware bowls to serve my mousse in. If you'd like some of the same, head out to Bison in Pialligo and snatch some up. I love that they look like giant egg cups. Ihave a full collection in both brown and lime green. Sounds like a crazy colour combination, but I love them.
Classic Chocolate Mousse
Serves 6
Ingredients
- 200 grams dark chocolate (I used Lindt 70 per cent cooking chocolate), chopped coarsely
- 30 grams unsalted butter, diced
- 3 eggs, separated (they need to be fresh and make sure they are room temperature before you begin)
- 300 ml thickened (whipping) cream
- Optional: 3 tablespoons caster sugar
- 1 punnet strawberries
Start by chopping your chocolate with a good sharp knife on a chopping board. Now, dice your butter, separate your eggs into separate bowls and whip your cream. You will need to use the same beaters etc to whip your egg whites in a short while, so make sure you wash and dry them thoroughly before you reuse them for the egg whites.
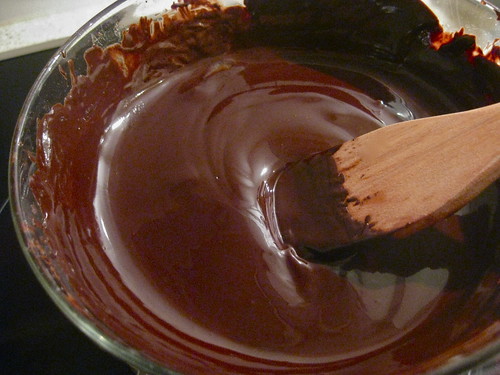
Put about an inch of water in a saucepan and then fit a heatproof bowl (something like pyrex) on top so that the water doesn't touch the bowl. Bring the water to a simmer then place the bowl on top with the butter and the chocolate. Stir constantly while they both melt until the melted chocolate looks satiny and smooth.
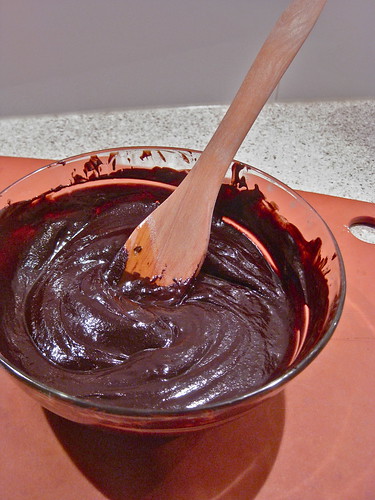
Remove from the bowl from the heat and stir in the eggs yolks (stir quickly, you want them combined with the chocolate before they cook!). The chocolate will thicken and look a little less satiny. Set aside to cool.
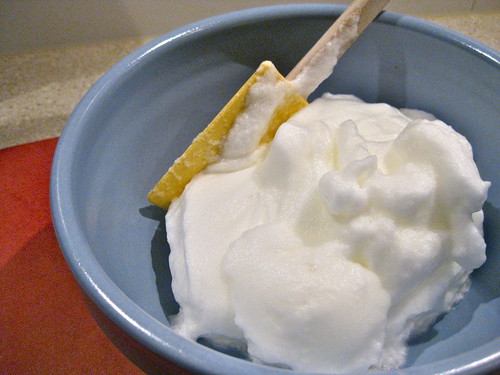
Next, beat the egg whites with an electric mixer or a Kitchenaid-style mixer until it forms soft peaks. If you like a sweeter mousse, this is where you add the sugar, beating it into the egg whites.
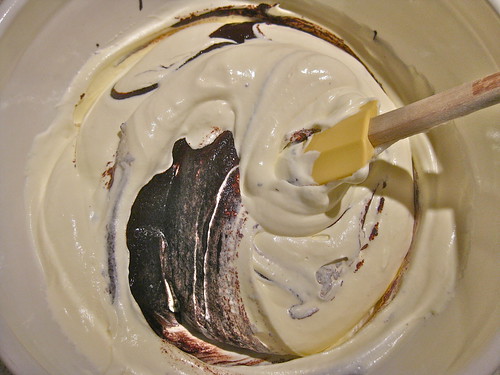
Pour your chocolate-egg mixture into a large bowl. Fold the whipped cream into the chocolate and then, when completely combined, fold through the egg whites in two batches. Don't overmix, or else you will lose the airiness of the mousse.
You should spoon the mousse into six serving dishes - don't make the bowls too large, this is a very rich dessert so you don't need a lot in a serve. Cover with cling wrap and refridgerate for at least three hours. The beauty of this dessert is that it can be made up to two days ahead.
When you are ready to serve, take them out of the fridge and let them sit for about ten minutes. Take this time to chop up your strawberries (or rinse off some raspberries, if you're feeling like splurging a bit). Serve with the berries scattered on top.
Oh, and for all you Coeliacs out there - this is gluten-free. It just might give you a heart attack and send your cholesterol through the roof, but yum!
Sunday, August 7, 2011
Vanilla Bavarois with Raspberries
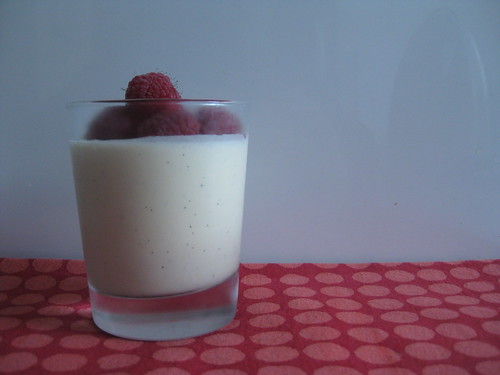
Bavarois is a delicious cream dessert, made with gelatine and softer than a pannacotta, but firmer than a mousse. I first came across this unctuous dessert at the French Kitchen Restaurant - a Canberra institution which very sadly closed a few years ago when the owners retired. I used to eat there with my parents when I was little and it was where I first tried pate (picking out the pepper corns and aspic as I went), then French onion soup, then venison, and then creme brulee studded with blackberries.
Finally, when I was university I worked for the Gerembeaux family as a waitress. Michel, the owner, decided it was high time for my culinary education to begin, and he set to broadening my foodie horizons with steak tartare, frog's legs, escargot and steak cooked medium-rare. I will never be able to thank him enough for the dinners he served for all the staff before the dinner shift started. It helped kick-start my love of food.
And what I didn't learn at the table, I did in the kitchen just by watching. How to flip a good crepe with your fingers, the perfect heat to sweat onions for soup, that the best way to saute young green beans was in butter and, finally, the beauty of classic desserts like bavarois, crepe suzette (flambéed at the table, no less) and creme brulee made thin so the custard is warm all the way through and you get far more of a toffee-to-creme ratio in every spoonful.
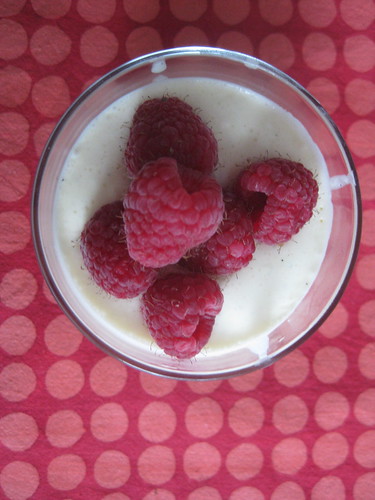
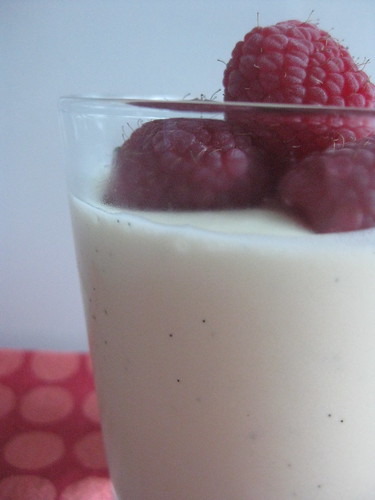
The bavarois at the French Kitchen were served in tall martini glasses with a topping of pureed raspberries, which cut through the creaminess of the dessert and provided a striking colour contrast with the whiteness of the bavarois. I have spent a number of years trying different bavarois recipes in an attempt to get the same texture and flavour as the French Kitchen dessert - I hope you enjoy this as much as I do. Serve it with raspberry coulee or a handful of fresh raspberries scattered on top.
Vanilla Bavarois
Ingredients
- 500 ml milk
- 4 egg yolks
- 1 cup white sugar
- 4 leaves of gold gelatine
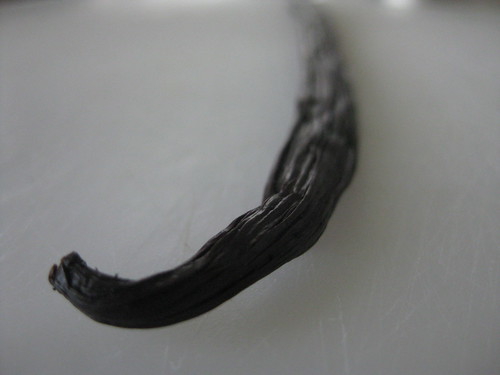
- 2 vanilla beans
- 500 ml thickened/whipping cream
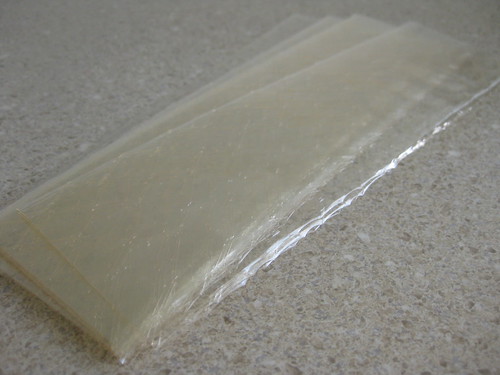
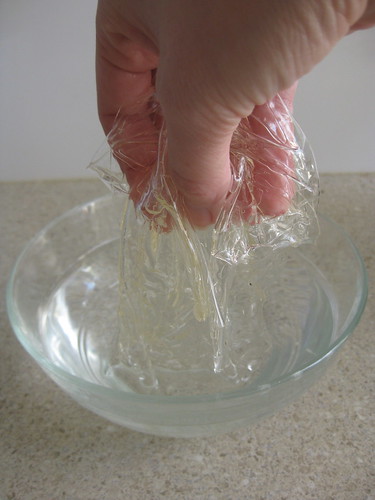
For once there's absolutely no need to preheat an oven or line tins! Take your gelatine leaves and soak in a bowl of cold water - just enough to cover them properly. If you can't find gelatine leaves (try Essential Ingredient) then substitute 1 tablespoon of powdered gelatine. This also needs to be soaked in cold water at this stage.
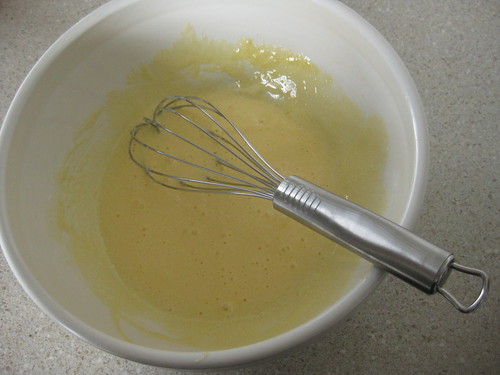
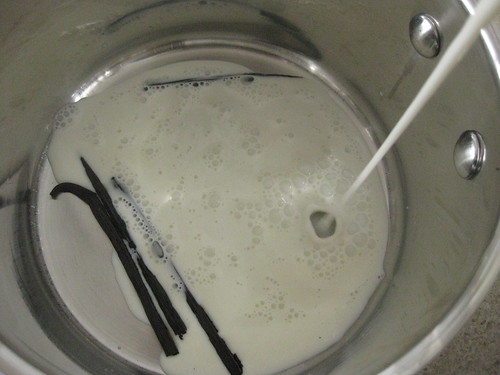
Whisk the egg yolks and sugar in a large bowl until light and fluffy, then set aside. Place the milk and vanilla beans in a saucepan on a medium heat and bring to the boil (not a fast boil, just a slow boil).
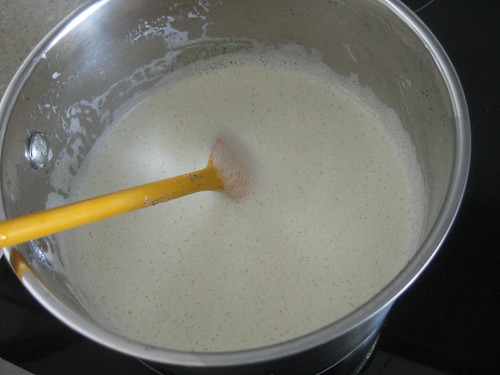
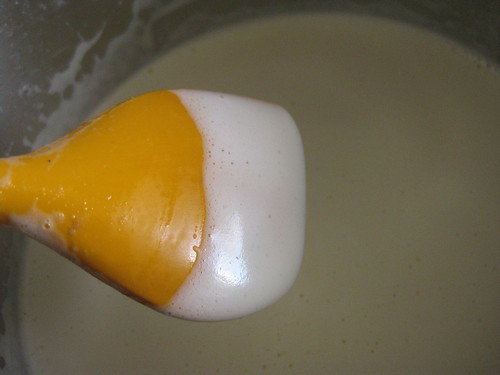
Add the heated milk to the eggs, whisking constantly. Pour this back into the saucepan and put on a low heat - do not neglect the custard while it thickens, it needs to be stirred the whole time. Be patient, this happens slowly. Don't put it on too high a heat or it will curdle (I know this because it's happened to me!). When it thickens to the point that it coats the back of a spoon.
Take the saucepan off the heat. Remove the gelatine leaves from the water and squeeze to remove excess liquid. Add to the hot custard and stir until the gelatine is dissolved in the custard.
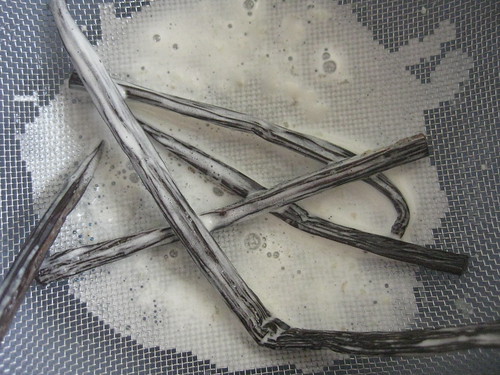
Next, strain the custard through a sieve, removing the vanilla beans. Slice the beans in half on a chopping board, scrape the vanilla beans from the pods and add them back into the custard. I whisked them in to make sure the little black specks were evenly distributed throughout and didn't form little 'clumps' in the custard. Now, cover the bowl with cling wrap and place it in the fridge until it is cool to the touch (approximately an hour in my fridge, but yours may be colder, so keep an eye on it).
Whip the cream in a stationary mixer or with hand-held beaters, then fold the cooled custard through just until combined. Spoon into some ramekins or martini glasses if you have them, cover with cling wrap and place back in the fridge to set for at least 3 hours.
Top with raspberries or other fruit that has both a good colour contrast with the whiteness of the creme and enough acidity to cut through the sweetness of the dish.
Subscribe to:
Comments (Atom)
