Thursday, May 26, 2011

Coconut Bread for a Sunday Brunch

IMG_6306


What better way to catch up with friends on a windy autumn day than with a Sunday brunch?  In preparation for their arrival, I had turned up the heater, the coffee was brewing on the counter-top (freshly ground at the Lonsdale Street Roasters the day before) and the coconut bread was sliced and slathered with melting butter.

In addition to a fabulous fruit salad hand-sliced by the Divine Ms N, I also put together little tumblers of continental yoghurt, drizzled with honey and sprinkled with my crunchy homemade granola.  I might also have got a little carried away and whipped up an "open omelette" with sliced leeks, zucchini and crumbled fetta, finished in the oven and served warm, scooped straight out of the cast-iron skillet.  All in all, it was a lovely way to spend a Sunday morning as it slowly lazed into afternoon.

IMG_6312


I just love this coconut bread recipe, which I adapted from "Bills Sydney Food", something I've wanted to try for a while.  The cinnamon smells amazing as soon as you mix it into the batter, let alone when you pop it in the oven - suddenly the whole house is filled with the wafting scents of baking bread (ok, it's really cake) and sweet spices.  Ever since Kingston Grind took its coconut bread off the menu (sob), I've been looking for a replacement and now I need look no further.  This is one recipe I will definitely be using again.

Coconut Bread

Ingredients
-  2 1/2 cups plain flour
-  2 teaspoons baking powder
-  150 grams shredded coconut
-  2 eggs
-  300 ml full cream milk
-  2 teaspoons ground cinnamon
-  1 cup raw caster sugar (which gives a caramel flavour to the batter)
-  1 teaspoon vanilla extract
-  75 grams melted butter

Step number one - preheat your oven to 180 degrees Celcius and butter your loaf tin.  I also like to cut out a small rectangle of baking paper to put in the bottom of the pan, as it makes it easier to get the loaf out of the tin in the end.

IMG_6288


IMG_6291


IMG_6293


In a small bowl, whisk the milk, eggs and vanilla extract.  Next, in a large bowl, sift your plain flour, baking powder and cinnamon.  Using a large spoon, mix in the caster sugar and coconut, then slowly mix in the milk-egg-vanilla mix into the dry ingredients, bit by bit.  Pour in your melted butter and fold in - try not to mix too much, you don't want the loaf to chewy.

IMG_6295


Pour the batter into your prepared loaf tin, and pop into your preheated oven for approximately 1 hour - just make sure a skewer or cake tester comes out clean so you know it's cooked through.

IMG_6299

IMG_6300


Leave the loaf to cool inside the tin for about 5 minutes then pop it on a wire rack.  Personally, I think this is the perfect time to slice and butter the loaf.  Bills recommends you cool, then slice, then grill or toast the bread, sprinkling it with icing sugar and serving with butter.  If you manage not to devour it entirely straight out of the oven, I wish you luck!

IMG_6317

Thursday, May 19, 2011

Lemon Curd Cheesecake (Gluten Free!)

IMG_6280


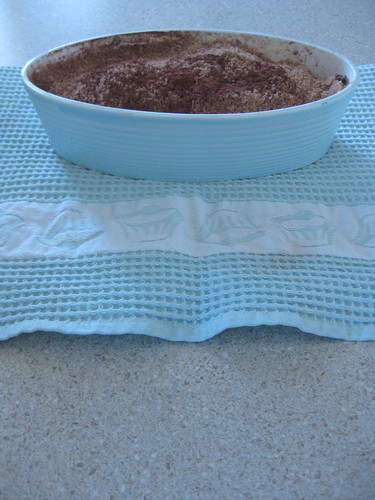
Is there anything more richly, absurdly, deliciously heart-stoppingly, stroke-causingly, happiness-inducingly good as a baked cheesecake?  I was late coming to the cheesecake party, enjoying my first baked cheesecake (mars bar cheesecake from Babar's Cafe in Woden, to be exact) circa 2003.  I have subsequently made up for the lack of cheesecake in my early life, though always with a hint of caution, knowing just how much cream cheese, sour cream and sugar goes into a terrific baked cheesecake.  For me, it's always a "special occasion" dish - I even ordered the aforementioned mars bar cheesecake for my 23rd birthday cake, I seem to remember - largely because the amount of dairy in the average cheesecake seems to make my tummy a little "delicate" if I eat too much, too often... but a little bit of cheesecake is okay, right?  It's wafer thin...

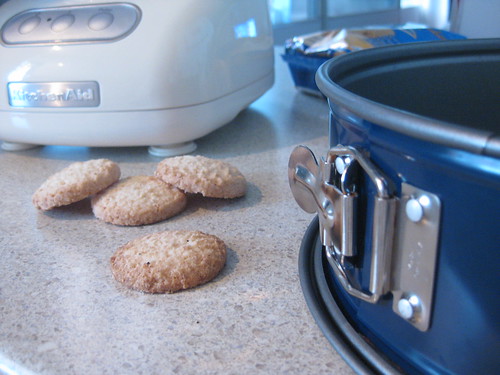
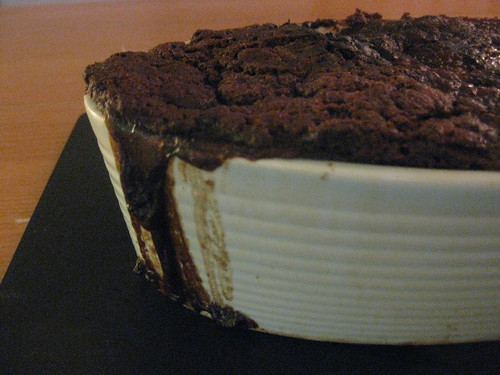
So, what better cake to produce for a fabulous, if gluten intolerant (don't worry Matt-in-the-Hat, I don't hold that against you), friend on his 31st birthday?  I did my research, quizzing my other best friend with the Coeliac husband on the best gluten-free base (gluten-free coconut biscuits), then spending extra time experimenting with the crushed-biscuit-to-melted-butter ratio.  Finally, the end result was actually better than my "usual" arrowroot biscuit base for baked cheesecake.  The gluten-free biscuits made a far stronger, more durable base (with a hint of coconut to add undertone to the flavour) and used significantly less butter than the normal base... although when you're adding about a litre of cream to the recipe, what's 50 grams of butter between friends?

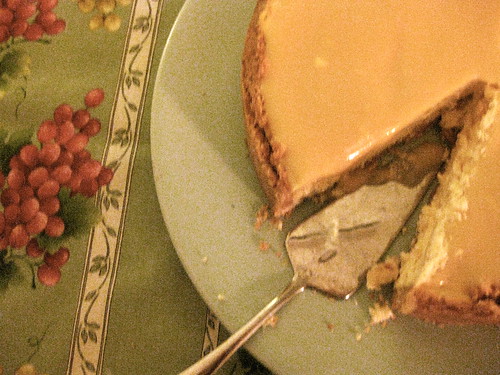
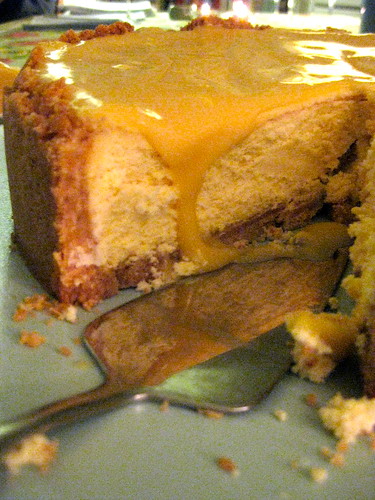
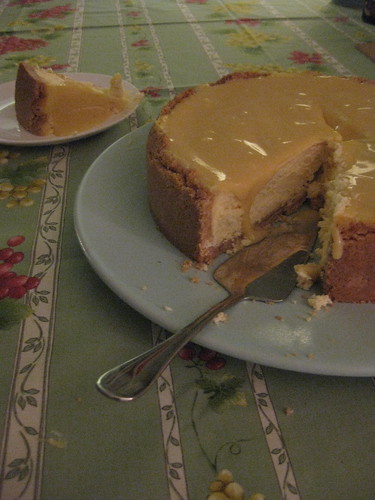
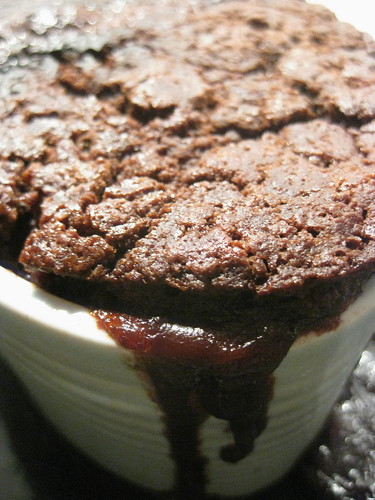
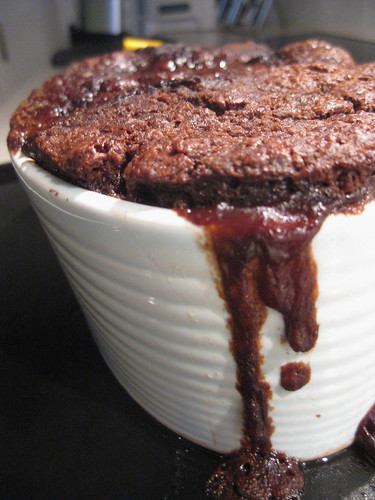
I initially thought I would do a plain baked New York cheesecake, but then I discovered a jar of lemon curd in my cupboard just begging to be eaten.  I added a couple of tablespoons of sour cream to make it slightly more pourable, spread it over the top of the cake and served it up, dripping over the edges, to much acclaim (there were a number of birthday candles involved).

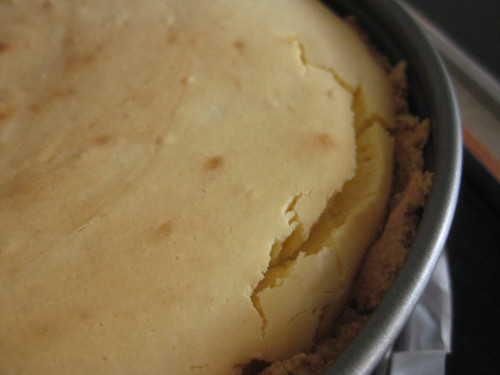
The acidity in the lemon curd cuts through the creaminess of the cake perfectly, and the colours tone in well.  The curd also covers up all the cracks in the top caused by refrigerating the cake before it was fully cooled.  I don't know about you, but who has time to wait around a couple of hours while a cheesecake cools in the oven?  If you are on the same page, stress less, refrigerate, then douse in lemon curd at the end.  It tastes better anyway.

Incidentally, I love the Women's Weekly "Cheesecake Cookbook"... I have shamelessly used their recipe as my base recipe, but have amended it to make it gluten-free and added far more lemon zest than they have dictated, and then added the lemon curd.  Buy this book, if you are keen on cheesecakes.

IMG_6278


Lemon Curd Cheesecake

Ingredients

Base
-  500 grams gluten-free "coconut" biscuits
-  75 grams melted butter
Filling
-  750 grams cream cheese (full fat, I like Philadelphia... but I like labels - and don't forget to soften it!)
-  1 tablespoon lemon zest
-  1 cup caster sugar (I prefer raw caster sugar, it gives it a caramelly flavour)
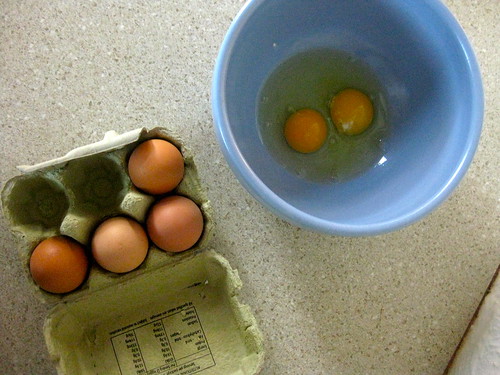
-  3 eggs
-  3/4 cup sour cream (full cream)
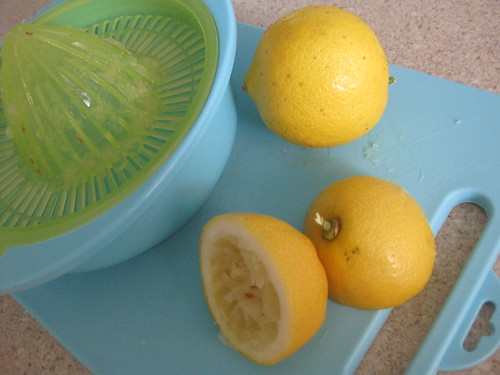
-  1/4 cup lemon juice (I love using lemon's from my Mum's tree - no pesticides = no nasty additions)
Sour cream topping
-  1 cup sour cream
-  1 teaspoon lemon zest
-  2 tablespoons caster suger (again, I will repeat, raw caster sugar)
-  2 teaspoons lemon juice
Lemon curd topping-for-the-topping
-  1 cup lemon curd (store bought is fine, but I will include a homemade recipe soon!)
-  2 tablespoons sour cream

IMG_6219


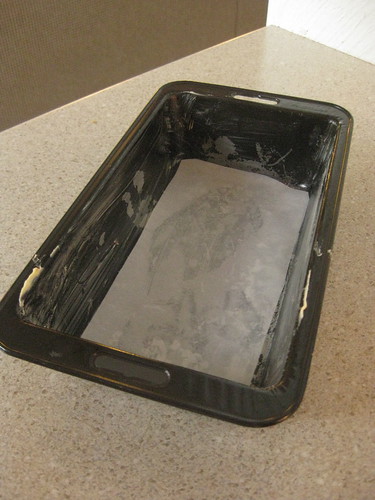
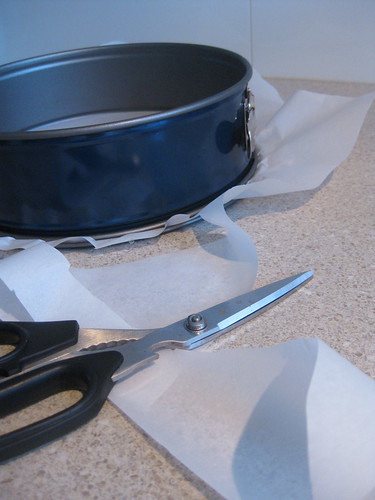
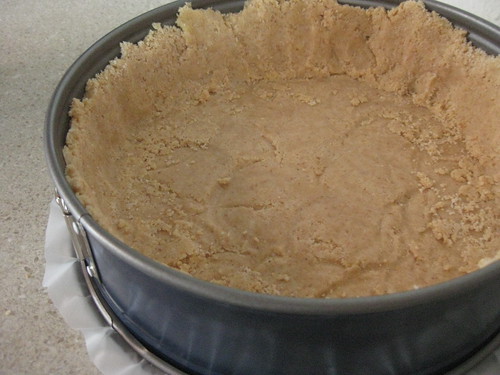
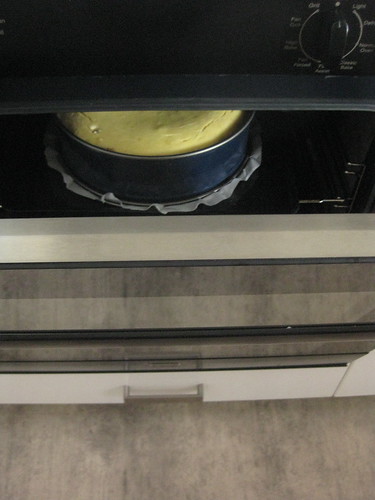
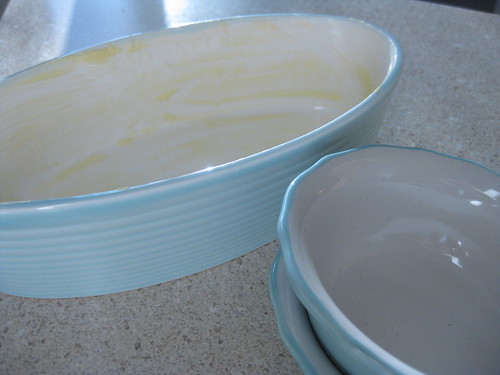
First heat the oven to 180 degrees Celcius (160 degrees if it's on a fan forced).  Next get yourself a 24 cm springform cake tin.  Don't bother with greasing the tin, but I recommend adding a small amount of baking paper to the bottom.

IMG_6225

IMG_6223

IMG_6227


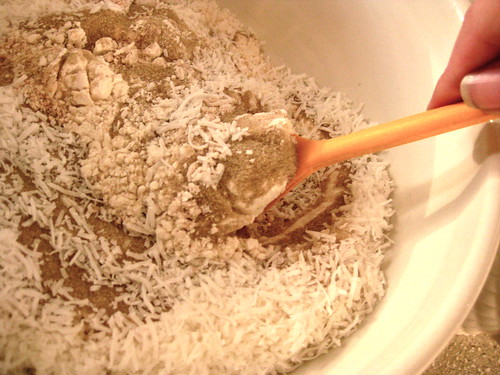
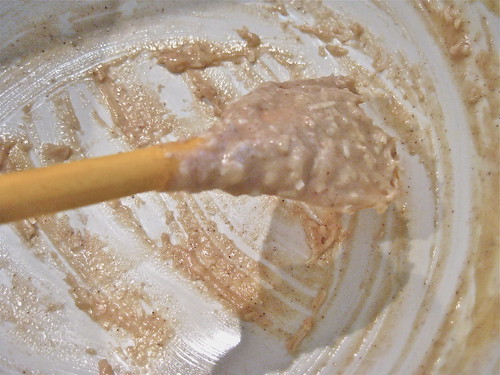
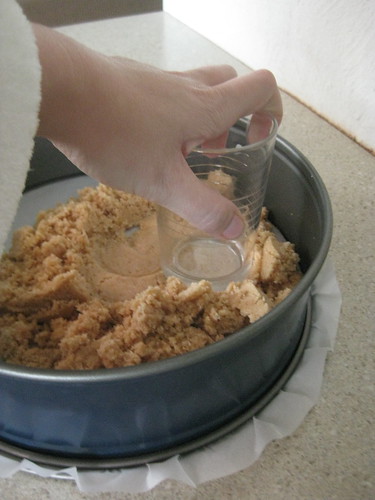
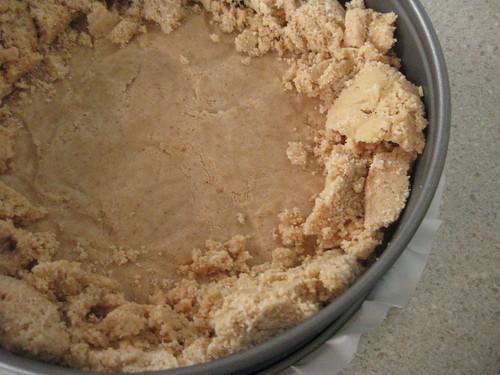
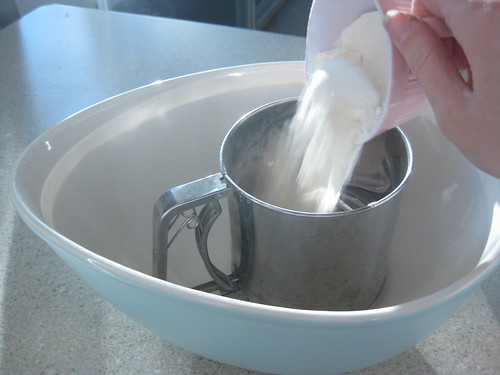
Next, crush your biscuits in a food processor until it's nothing but crumbs.  Pour in the melted butter and pulse briefly.  Spread over the bottom of the tin, pressing into the base with a small glass, then press the remaining crumbs into the sides of the tin with your fingers.  Now pop this lined tin in the fridge for at least 20 minutes, to firm up.

IMG_6239

IMG_6242

IMG_6243


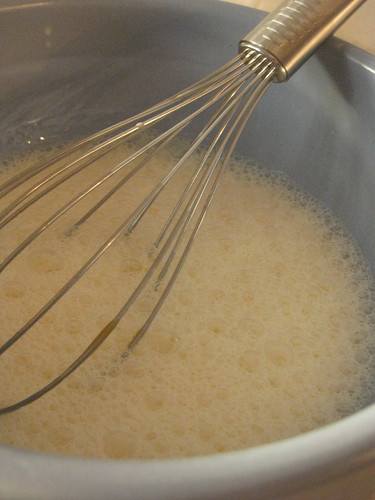
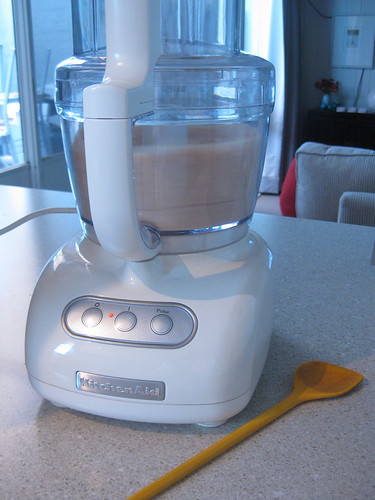
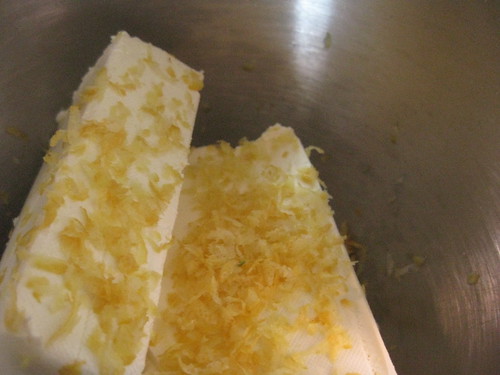
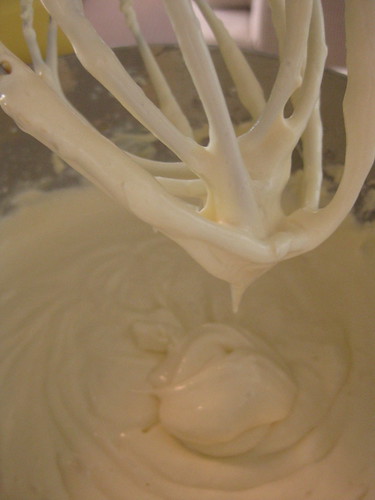
For the next step, I used a benchtop mixer (I love my Kitchenaid), but you can also use a hand-held beater.  Beat the cream cheese, then add in the lemon zest and combine, allowing the cream cheese to soften and whip.  Add the sugar and, when well mixed, the eggs - but only add them one at a time and make sure each is well mixed through before you add the next one.  Now add the sour cream and the lemon juice.  Again, mix until combined, but not much more than that.  Too much air in the mix and you'll increase the chance of cracking during the baking phase.

IMG_6246


IMG_6257


IMG_6258


IMG_6261


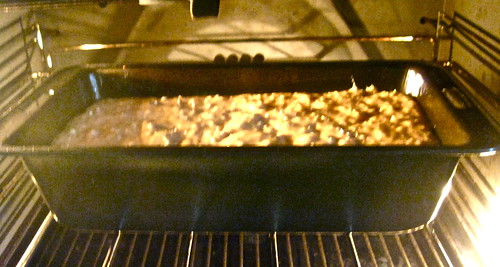
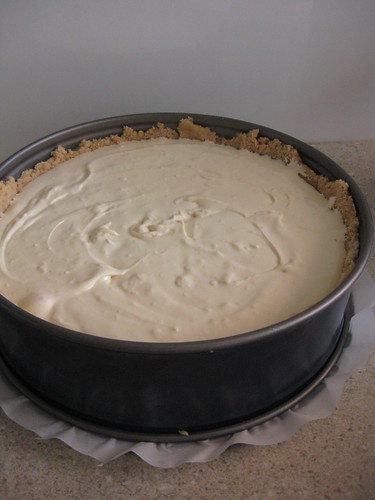
Next, pour the filling into the now-cold base, then put into the oven and bake for approximately 1 hour and 15 minutes.  Keep an eye on it, it should be starting to brown on top and be firming up, but it's okay if the middle is still a little liquid - it will continue to cook as it goes.  Now take it out of the oven and allow to cool for 15 minutes on the bench.

IMG_6271


IMG_6265


Separately, in a small bowl, add the sour cream, the remaining lemon zest, lemon juice and caster sugar.  Mix well and then pour over the top of the cooled cheesecake.  Return to the oven and bake for a further 20 minutes.  Finally, cool as long as you possibly can with the oven turned off and the oven door ajar.  It's okay if you don't have time to wait while the cheesecake cools completely - you're not perfect, so why expect a cake to be too.   Now move to the fridge and allow to cool completely, for at least 3 hours.

IMG_6252


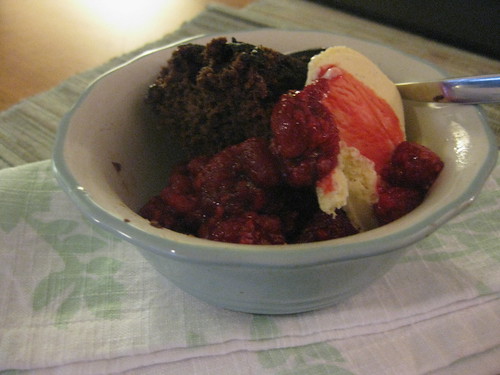
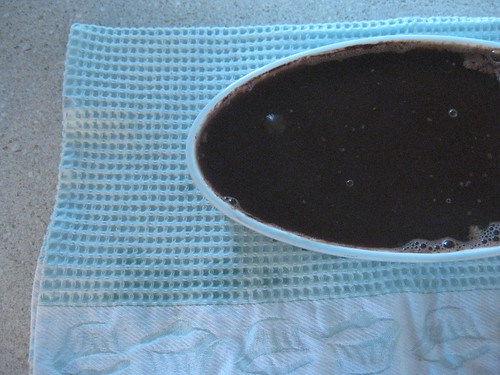
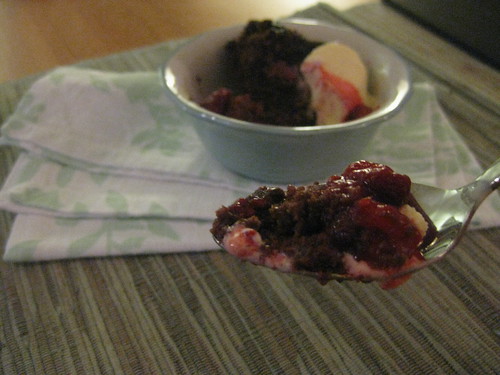
Right before serving, mix the lemon curd and sour cream in a small bowl, which should make it liquid enough to pour.  Pour over the top of the cheesecake, and serve.  We had defrosted frozen berries on the side.

IMG_6277

Saturday, May 14, 2011

Chocolate Self Saucing Pudding

IMG_6198


It seems that an awful lot of my friends and family have May birthdays, leading to far more dinners, birthdays and rich food than I had really counted on over the last two weeks.  Today was my Aunt's birthday and I was in charge of dessert at the family lunch at my Mum's place.

I decided I wanted to cook something classic, preferably gooey and full of chocolate - something indulgent my Aunt would love.  When it comes to 'classic', you really can't look much further than the Women's Weekly cookbooks, which very helpfully have a large variety of self-saucing pudding recipes to choose from, which are all (by and large) "never fail".  I have adapted it slightly to include cinnamon and kirsch - these add some layers to the flavours and give the dish a little bit of extra oomph.

At this point I should clarify for our North American friends.  Pudding is a warm cake-based dessert.  It is not the wobbly child of an unnatural union between mousse and jelly (translation - jello).  Pudding should be served steaming hot straight from the oven, and preferably eaten with cream and ice-cream.

Now, back to the flow of my narrative.  The beauty of this recipe is the chemistry of it.  You make this amazingly simple thick pudding base, spread it over the bottom of a casserole dish, sprinkle with cocoa and sugar, and then pour boiling water over the top.  Then you pop it in the oven and 40 minutes later a miraculous transformation has occurred.  On top is a light chocolate sponge, moist with cocoa and sour cream.  Below is a bubbling, oozing chocolate-and-liqueur sauce.  You scoop a spoonful out of the dish and onto your plate, ladle over some cream, plop a scoop of vanilla ice cream to one side, and devour.

Just a word of warning - eating this dish may result in the need for an afternoon nap followed by a serious exercise session.  But it's worth every minute on the treadmill.

IMG_6212


Chocolate Self-Saucing Pudding

Ingredients
-  1 cup self-raising flour
-  1/2 cup cocoa powder (I recommend Dutch process cocoa)
-  1/2 teaspoon bicarbonate soda
-  1 1/4 cups brown sugar
-  1 tablespoon ground cinnamon
-  80 grams melted butter
-  1/2 cup sour cream
-  1 egg, beaten
-  1 tablespoon kirsch
-  1 teaspoon vanilla extract
-  1 1/2 cups boiling water

First things first.  Grab yourself a large, high sided casserole dish (1.5 litre or 6 cup capacity) and grease with some butter or margarine.  Preheat the oven to 180 degrees Celcius.

IMG_6126


Now, in a large bowl sift the flour, bicarb soda, half the cocoa and 1/2 cup the sugar and the ground cinnamon.  In a separate bowl, beat the egg and combine with the sour cream.  Finally add the vanilla extract and kirsch.  When combined, add in the melted butter, whisking vigorously as you pour it in.

IMG_6133


Pour the wet mix into the dry ingredients and stir until combined.  This will be a very thick batter, so don't panic.  Spread this over the bottom of the casserole dish.  Next, sift the remaining cocoa and brown sugar over the top of the casserole dish.  If you want to, you could prepare the dish until this point up to 2 hours before you move to the next steps, which can be handy if you're having friends around for dinner and like to have things ready to go when the main course is finished.

IMG_6142


Put the boiling water in a jug and then pour gently over the casserole until it resembles a strange, bubbling swamp-soup.  It's okay, it's meant to look that liquid.  Put the dish into the preheated oven and leave it alone for 40 minutes.

IMG_6147

IMG_6196


When the top looks like cooked sponge, but the sauce is still bubbling up around the edges and through the cracks in the crust, it's time to take it out of the oven.  Allow the pudding to sit for five minutes before you spoon into bowls, add cream and ice cream.  Eat as fast as possible without burning the inside of your mouth.  I highly recommend serving this with a small bowl of fresh or defrosted frozen raspberries - it gives a lovely sour edge to the rich, moist chocolate flavours.

IMG_6206


IMG_6214

Lamb Tagine with Dates & Dried Figs

IMG_6178


I have previously expressed by love for Claudia Roden's book Arabesque, so it should come as no surprise that her excellent lamb tagine with dates features frequently at my table.  It's a simple and adaptable recipe utilising a reasonably priced cut of lamb (the shoulder).  It also allows you to "set and forget" when guests are coming around for dinner and you want be able to chat with them over a glass of wine while the tagine simmers away on the stove.

While the recipe calls for 300 grams of fresh dates, I have on occasion substituted this for dried dates, apricots and, as outlined in this recipe, dried figs.  All these dried fruits add to the sweet-savoury flavours I adore in tagines, and are readily available even in far distant Indonesian supermarket shelves.  I also enjoy the vaguely floral aroma of the saffron in the recipe, which wafts up fragrantly when you add it to the frying onions.  When this happens, I suggest you stop and breathe deep - it's a wonderful moment.

Finally, this post has a bonus recipe - the world's easiest couscous.  The flavour is beefed up by ground cinnamon, ground ginger and dried currants, and involves the simplest technique in the world.  Mix all the dry ingredients, add boiling stock, stir, cover with cling wrap and walk away for 5 minutes.  Return, fluff with a fork.  Serve.  Easy peasy.

Trust me, this is a sure-fire winner for a winter dinner party.  Just be sure to buy some nice wine, so you can fully enjoy the extra time you get with your guests.

IMG_6183


Lamb Tagine with Dates and Dried Figs

Ingredients
-  1.5 kg shoulder of lamb, diced (your butcher can do this for you, if you ask nicely)
-  4 tablespoons olive oil
-  2 onions, finely diced
-  1/2 teaspoon saffron threads
-  1/2 teaspoon ground ginger
-  1/2 teaspoon ground cinnamon
-  1 cinnamon stick
-  1 tablespoon honey
-  150 grams fresh pitted dates
-  150 grams dried figs
-  salt and pepper to taste

Heat up a heavy cast iron casserole pot (you can use a heavy based tagine if you have one!), add olive oil and, when hot, brown your diced lamb shoulder in batches, removing when it is lightly brown all over.  Don't do this all at once, for some reason it makes it too "wet" and it starts stewing rather than browning.

IMG_6110


IMG_6121


Next add your onion and, stirring to release those nice dark meaty bits from the bottom of the pan, cook them until they soften and start to brown.  Stir in the saffron and ground ginger, and don't forget to enjoy the incredible smells which will waft up.  Next, add the meat back into the pan.  Add salt and pepper and then cover with water.  Add your cinnamon stick and the dried figs and then simmer, covered, for 2 hours.   Don't forget to turn the meat every so often, and don't let the simmer turn into a boil.  However, if it simmers for more than 2 hours that's totally fine - it just gets better and better.

IMG_6114


Next, remove the lid (because it's time to reduce the sauce down to a thicker consistency), stir in the honey and add the ground cinnamon.  Taste the tagine and, if it's a little too sweet, add more ground pepper to taste.  Cook uncovered until the liquid is the right consistency (roughly reduced by a third).  Now, add the dates and simmer for a further 10 minutes.

Now it's ready, just turn off the heat, pop the lid back on and move onto the couscous.

This will provide six generous serves.

IMG_6188


Fragrant Couscous with Currants

Ingredients
-  2 cups instant couscous
-  2 cups boiling stock (chicken or vegetable is best)
-  1 teaspoon ground ginger
-  1 teaspoon ground cinnamon
-  1/2 cup dried currants

First, place your couscous, ground ginger, ground cinnamon and currants in a large bowl and mix until the couscous and currants are coated in the spices.  Now, heat your stock in a saucepan until boiling.

IMG_6162

Add the stock to the couscous, stir and then cover immediately with cling wrap.  After 5 minutes, remove the cling wrap and "fluff" with the tines of a fork.  If it requires more moisture, add a small amount of olive oil.  Cover again with cling wrap for another 5 minutes.  Fluff again, and it's ready to serve.

IMG_6166
Cling wrap - the secret couscous ingredient

Place a small mound of couscous on a plate, scoop the tagine over the top and, if you feel like it, sprinkle toasted pinenuts and chopped coriander over the top.  It's a crowd pleaser.

IMG_6177

Monday, May 2, 2011

Turkish Food Vans

IMG_6036


I have news.  I know everyone in the food blogger-sphere seems to think the food van was a recent creation, but I beg to differ - the Turks beat us to it by a few hundred years.  Their human-powered street "vans"... okay, maybe more like stands...sure do take some beating.  Everywhere you look, there's yet another variety of mobile street food you just "have" to try.

IMG_5932


I will let you in on another revelation.  I. LOVE. Roasted chestnuts.  And it seems Turkey is the land for me.  What better way to beat the new spring chill than a small paper bag of piping hot roasted chestnuts warming your hands, complete with aromatic smoke wafting from the coals of the cart?  What could possibly be better?  I am glad you ask.  These roasted chestnut carts seem to be paired with carts hawking steamed corn-on-the-cob.  That's right.  Start with an entree of chestnuts, then move onto a main of hot, buttered corn.  Call me crazy, but it's genius.

IMG_5934


IMG_5933


But what I love about Istanbul is the fact that "van" food starts with breakfast - simit is the "bagel" of choice for a quick, early morning bite while on the move in Turkey.  My favourite variety of simit actually tastes more like brioche than bagel, and goes perfectly with a steaming hot cup of coffee, as you take in the sights of the city.

IMG_5886


IMG_5887


Finally, I would like to award the most innovative "van" burger of the year to the guys on a boat in Istanbul harbour frying up fillets of local who-knows-what variety of fish on their grill and then passing (or throwing, depending on the swell) it to you, encased in bread, raw onions and lettuce, on the dry earth of the wharf.  It actually gets a bit tricky when the waves are choppy, but well worth the effort.  These guys take the day's fresh catch from the nearby fish market, grill it up with olive oil and serve it doused in tart lemon juice and salt.  What's not to like?

IMG_6106


IMG_6105


IMG_6093


IMG_6095